
Simple Replacement Guide for JUGAO Collimating Lens: Upgrade Laser Welding Processing Performance
2026-07-03

Table of Contents
• The Core Value of Timely Collimating Lens Replacement for JUGAO Welding Guns
• Pre-operation Preparation Work Before Lens Replacement
• Complete Step-by-Step Operation Tutorial for JUGAO Collimating Lens Replacement
a. Unscrew three fixing bolts of the QBH locking component
b. Dismantle the QBH lock assembly gently
c. Seal the exposed light path with masking tape against dust pollution
d. Rotate and loosen the lens fixing locking ring
e. Take out the old lens and install a brand-new collimating lens
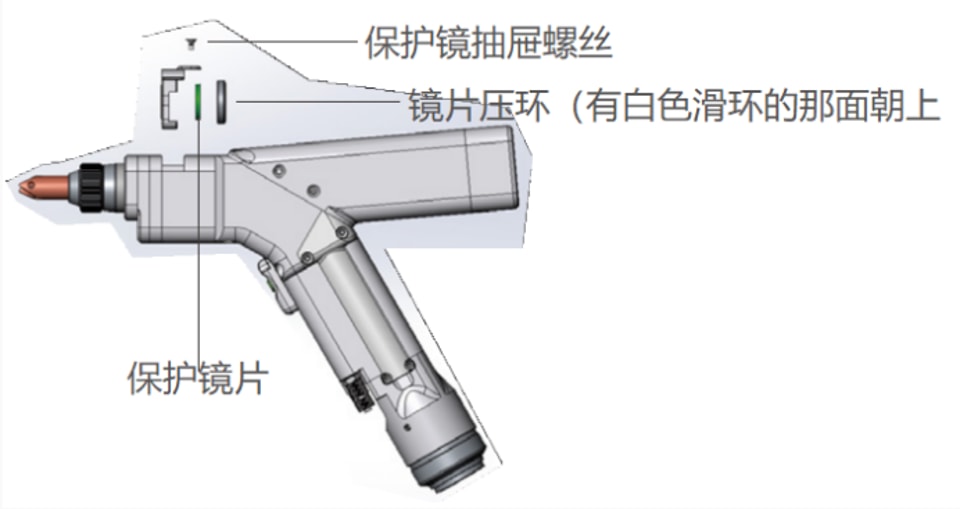
f. Key installation requirement: convex surface of the lens faces upward
g. Mount the pressure ring to fasten the lens after installation
h. Screw on the locking ring for secondary fixation
i. Reinstall the QBH lock onto the JUGAO welding gun body
j. Align the bottom identification mark with the top fixing screw
k. Tighten all three bolts to finish assembly
• Post-replacement Operation Tips to Optimize JUGAO Welding Equipment Output
Regularly replacing the collimating lens is a simple yet effective maintenance measure to lift the precision and stability of JUGAO handheld laser welding machines. This guide will elaborate on why collimating lens maintenance matters, full pre-work preparation standards, and standardized step-by-step disassembly & assembly procedures. Operators can master the lens replacement skill quickly to stabilize welding molding effects, reduce equipment failure risks, and extend the service life of JUGAO laser welding guns.
The Core Value of Timely Collimating Lens Replacement for JUGAO Welding Guns
Collimating lenses are the core optical parts of JUGAO laser welding guns, tasked with collimating laser beams into parallel light to guarantee uniform energy output during welding. In long-term processing, splashing welding slag, metal dust, and high-temperature radiation will scratch, stain or burn the lens surface. Damaged lenses will scatter laser energy, leading to uneven welding seams, insufficient penetration, unstable processing and even damage to the laser source.
Carrying out collimating lens replacement on schedule can restore complete laser transmission efficiency, obtain smooth, full and consistent welding lines, cut down scrap workpieces, and protect the whole set of JUGAO laser welding equipment from secondary damage.
Pre-operation Preparation Work Before Lens Replacement
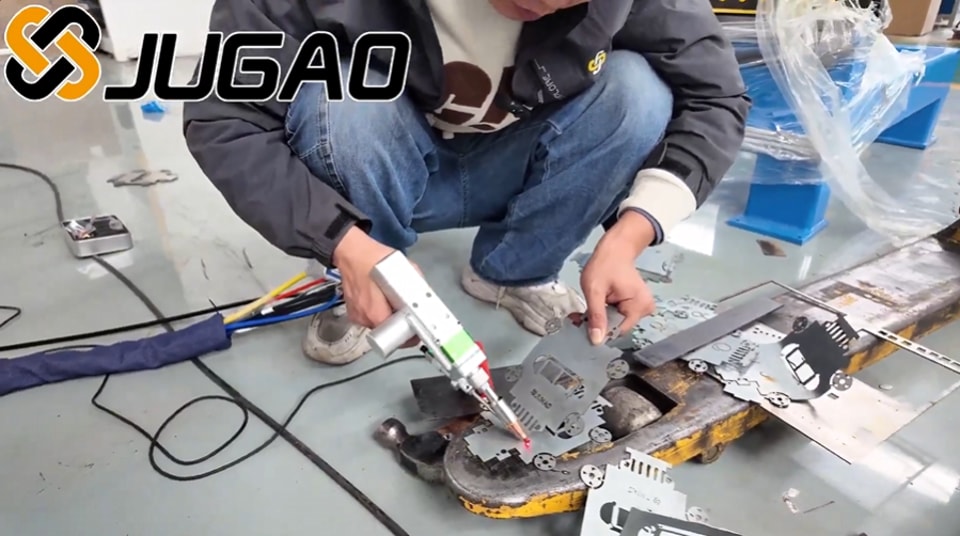
Standard preparation can avoid optical part contamination and assembly errors during replacement:
1. Prepare a dust-free flat operation table, place clean soft cloth to hold disassembled parts;
2. Prepare matched cross screwdriver, dust-free masking tape and original JUGAO collimating lens;
3. Disposable nitrile gloves are mandatory for all operations; bare hands will leave grease and fingerprints on the lens to cause light loss;
4. Cut off the power supply of the laser welding machine in advance to avoid accidental laser emission during disassembly.
Complete Step-by-Step Operation Tutorial for JUGAO Collimating Lens Replacement
Step 1: Unscrew three fixing bolts of the QBH locking component
Hold the JUGAO welding gun steadily with gloved hands, use a screwdriver to slowly loosen the three small bolts fixed on the QBH lock. Do not remove the screws completely, just loosen them enough to separate the lock from the gun body.
Step 2: Dismantle the QBH lock assembly gently
After loosening all bolts, pull the QBH lock straight out along the axial direction of the gun head. Move slowly to prevent collision with the internal optical tube and avoid scratching the reserved light channel.
Step 3: Seal the exposed light path with masking tape against dust pollution
Immediately cover the hollow light passage on the welding gun body with masking tape after removing the QBH lock. This prevents floating metal dust and workshop debris from entering the internal optical structure and causing pollution.
Step 4: Rotate and loosen the lens fixing locking ring
Take the detached QBH lock assembly, hold the cylindrical main body with one hand, twist the outer locking ring counterclockwise with the other hand until it can be separated smoothly.
Step 5: Take out the old lens and install a brand-new collimating lens
Pour out the aged collimating lens inside the ring seat, take the new original JUGAO lens by its edge only (never touch the light-transmitting surface), and place it into the lens base steadily.
Step 6: Key installation requirement: convex surface of the lens faces upward
Check the lens orientation strictly: the arched convex side must face the outer end of the QBH lock, while the flat concave side faces the internal light channel. Reversed installation will completely destroy laser collimation effect and lead to welding failure.
Step 7: Mount the pressure ring to fasten the lens after installation
Cover the metal pressure ring on top of the collimating lens, make sure the ring is fully attached to the lens edge without tilting, to avoid lens shaking during high-speed welding.
Step 8: Screw on the locking ring for secondary fixation
Align the thread of the locking ring with the QBH lock base, rotate clockwise to tighten moderately. Do not apply excessive force to prevent thread slipping or lens extrusion cracking.
Step 9: Reinstall the QBH lock onto the JUGAO welding gun body
Tear off the masking tape on the gun head light path, aim the assembled QBH lock at the gun body interface, and push it fully into the installation position along the axis.
Step 10: Align the bottom identification mark with the top fixing screw
Rotate the QBH lock slightly to adjust the angle, make the small marking dot at the bottom of the lock perfectly collinear with the fixing screw on the upper side of the gun head. Accurate alignment ensures stable light path transmission.
Step 11: Tighten all three bolts to finish assembly
Reinstall the three fixing bolts and tighten them evenly in turn. Do not screw one bolt to the end at once; uniform locking force prevents the QBH lock from tilting and shifting. At this point, the full collimating lens replacement process is finished.
Post-replacement Operation Tips to Optimize JUGAO Welding Equipment Output
1. Power on the JUGAO laser welding machine after assembly, conduct empty light test without metal workpieces first, check whether there is abnormal light scattering or alarm prompts;
2. Use conventional carbon steel, stainless steel test plates for trial welding, observe the formation of welding seams: if the weld is smooth and no energy deviation exists, the lens replacement is qualified;
3. Form a regular inspection mechanism: check the surface cleanliness of the collimating lens every week, replace the lens immediately once stains, scratches or burn marks are found;
4. Always adopt genuine collimating lenses matched with JUGAO welding guns. Low-cost generic lenses have inconsistent focal lengths, which will reduce welding efficiency and accelerate laser source aging.
Proper collimating lens replacement and daily maintenance are core to maintaining long-term stable operation of JUGAO handheld laser welding equipment. Mastering this standardized operation process can help workshop operators effectively reduce equipment failure downtime, lower production scrap rate, and keep the welding machine running at optimal processing state all year round. If you encounter any obstacles during lens disassembly and replacement, you can contact JUGAO’s professional after-sales technical team for one-on-one guidance at any time.
Contact Us