 Get a quote
Resources
How can one effectively follow the installation guidelines for a pipe-bending machine?
Many people assume that installing a pipe-bending machine is simply a matter of following the instruction manual step by step. However, I have seen countless cases in the field where, despite the manual being read and the steps being followed, the machine—once installed—suffers from poor precision, excessive vibration, or frequent error alarms. The issue often lies in the gap between merely "following the instructions" and "executing them properly." Installation guidelines provide the framework, but the ultimate success of the installation depends on how diligently you approach every single stage of the process.
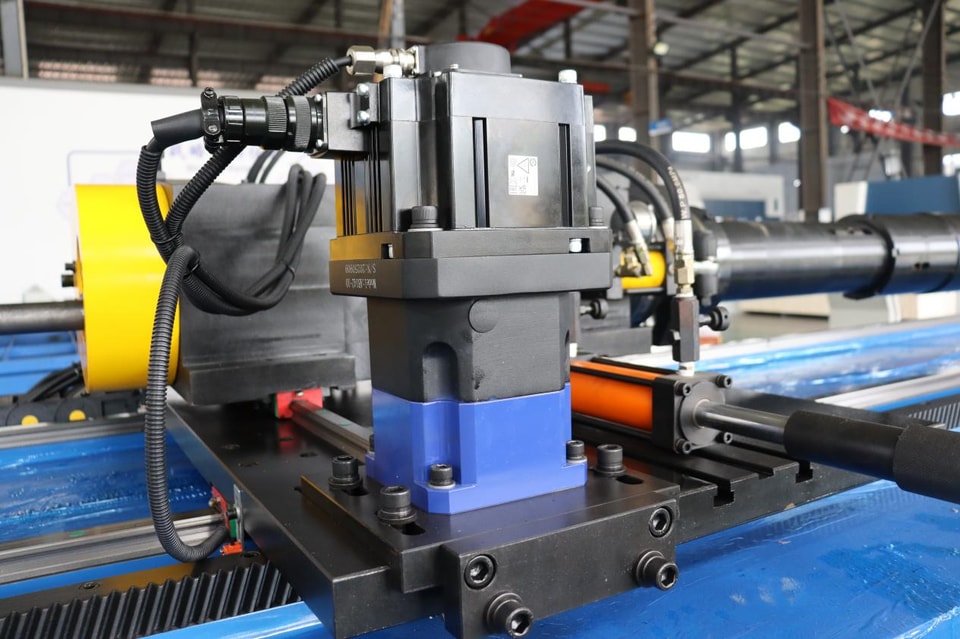
I. Preparation Before Installation
First, verify the site. The floor must be level, dry, and clean. Pipe-bending machines are highly sensitive to leveling; an uneven floor makes the initial leveling process difficult and increases the risk of the machine shifting later. Ensure sufficient space is available for loading and unloading materials, changing dies, personnel movement, and routine maintenance. If the machine is positioned too close to a wall, there may not be enough room for operators to maneuver when changing dies.
Check the power supply and hydraulic requirements. Ensure that the voltage, frequency, and hydraulic oil grade match the specifications provided in the installation manual. Using the wrong power supply or incorrect oil can trigger error alarms or, in more severe cases, damage the pump and drive components. Proper grounding is also essential—this will be addressed in a separate section.
After unboxing, do not rush the installation. First, inventory all accessories and inspect the equipment for any transit damage. Confirm that all components—such as bending dies, clamps, and the control panel—are present and intact. If any parts are damaged or missing, contact the manufacturer before beginning installation; discovering missing components halfway through the process causes significant delays.
II. Installation Steps
Step 1: Positioning and Leveling. Use a forklift or crane to move the machine to its final location. Place anti-vibration pads beneath the base, then use a precision spirit level to ensure proper alignment in both horizontal and vertical planes. While leveling may seem straightforward, many precision issues and instances of premature wear can ultimately be traced back to improper leveling. If the guide rails and hydraulic cylinders are subjected to uneven loads, the bending angles will lack consistency.
Step 2: Connecting Hydraulic and Electrical Systems. Following the installation manual, connect the hydraulic lines between the main pump and the bending cylinders, ensuring all fittings are clean and securely tightened. Connect the cables for the control system, servo motors, and sensors; always refer to the wiring diagrams rather than relying on memory. Pay close attention to the phase sequence—if connected incorrectly, the motor and hydraulic pump may rotate in reverse, and on some machine models, the bending arm could even drop unexpectedly.
Step 3: Software and Control Calibration. Once powered on, verify that the control panel and software interface are functioning correctly. Calibrate each axis according to the manufacturer’s instructions—this includes homing cycles, zero-point alignment, and sensor verification. Inadequate calibration will negatively affect angle control and the consistency of the bending process. Step 4: Tooling installation and calibration. Install the bending die, pressure die, and clamping die according to specifications, ensuring each is precisely aligned with the centerline of the tubing. Any misalignment will cause the tubing to deform during the bending process. While some CNC models feature automatic tooling calibration—which can simplify the process—a visual inspection is still necessary after installation.
Step 5: Trial bending. Perform an initial test bend using scrap material to evaluate the bend angle, surface finish, and the extent of any tubing deformation. If discrepancies arise, adjust the clamping pressure, bending speed, or angle compensation. Only once the trial bend meets all requirements should full-scale production begin.
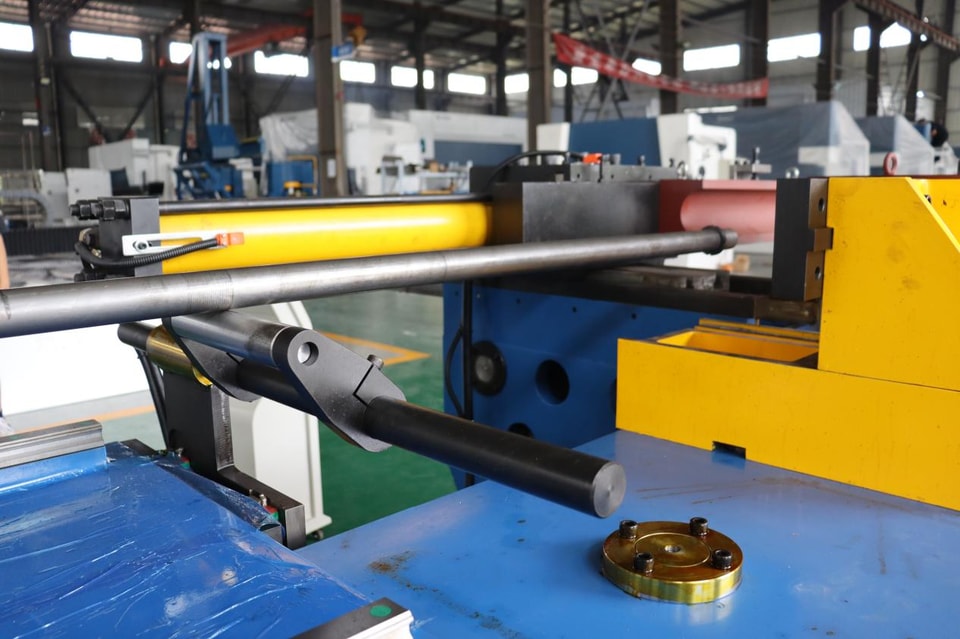
III. Common Pitfalls
Neglecting machine leveling and foundation preparation often leads to uneven bends and accelerated component wear. Using the wrong grade or viscosity of hydraulic oil can prevent the system from reaching the required pressure, slow down bending speeds, and shorten the lifespan of the pump. Skipping control calibration or relying solely on default settings frequently results in incorrect bend angles from the very first piece. Although these errors may seem minor, they often prove troublesome and time-consuming to rectify later.
IV. Post-Installation Maintenance and Training
Installation is not the end of the process. Conduct weekly inspections of hoses, fittings, and cables to check for wear or leaks; monitor oil levels regularly; and replace filter elements according to the established schedule. Ensure operators are thoroughly trained—review the installation guide and control manual in the context of actual machine operation, covering basic functions, emergency stop procedures, and routine inspection tasks. Well-trained operators can identify anomalies more quickly, leading to more stable production efficiency.
Keep software and parameters up to date. Firmware updates released by the manufacturer often address bending precision and safety features; be sure to install these updates as they become available.
Frequently Asked Questions
How long does it take to install a pipe-bending machine? For standard CNC models, installation typically takes one to three days, including electrical setup, calibration, and testing. Larger or custom-built machines may require more time.
Can I install it myself without professional assistance? While you may be able to install a small CNC pipe-bending machine by following the installation manual, CNC models generally require professional commissioning to ensure both safety and precision.
What should I do if the first bend is inaccurate? Re-check the machine’s level, the alignment of the tooling, and the control system calibration. Inaccurate bends are most often caused by setup issues or incorrect material data input.
Following the installation guide precisely is the foundation for ensuring the machine operates efficiently, safely, and with long-term precision. By properly executing every step—including site preparation, checks of power and hydraulic systems, mold alignment, control calibration, and trial bending—you can avoid common installation issues and significantly reduce future maintenance costs.
Related
Keep
reading.
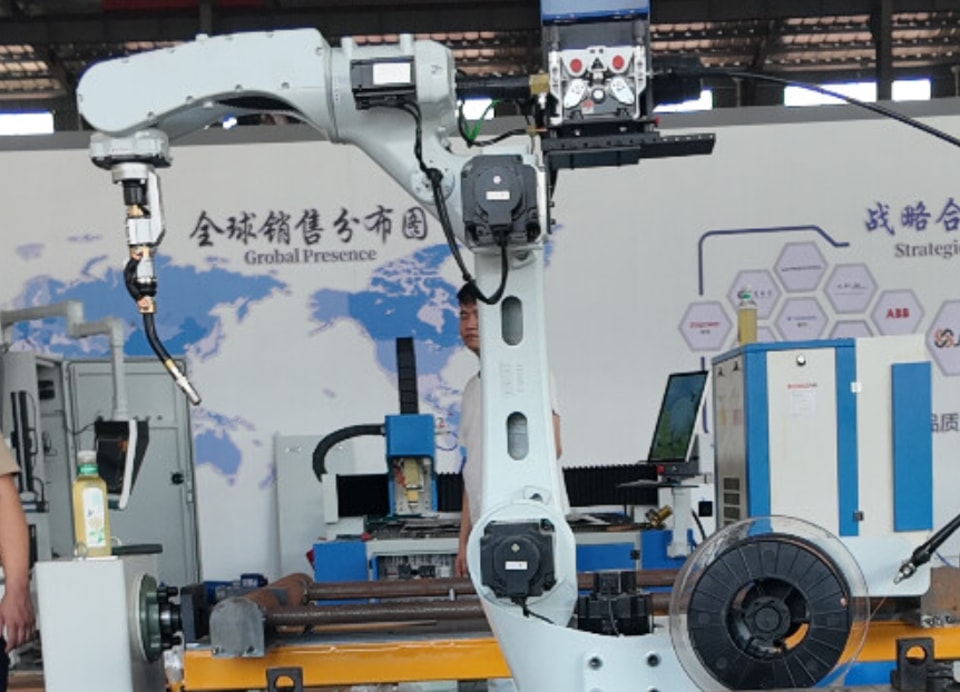 Comparison of Laser Welding Results and Application Scenarios Across Different Materials
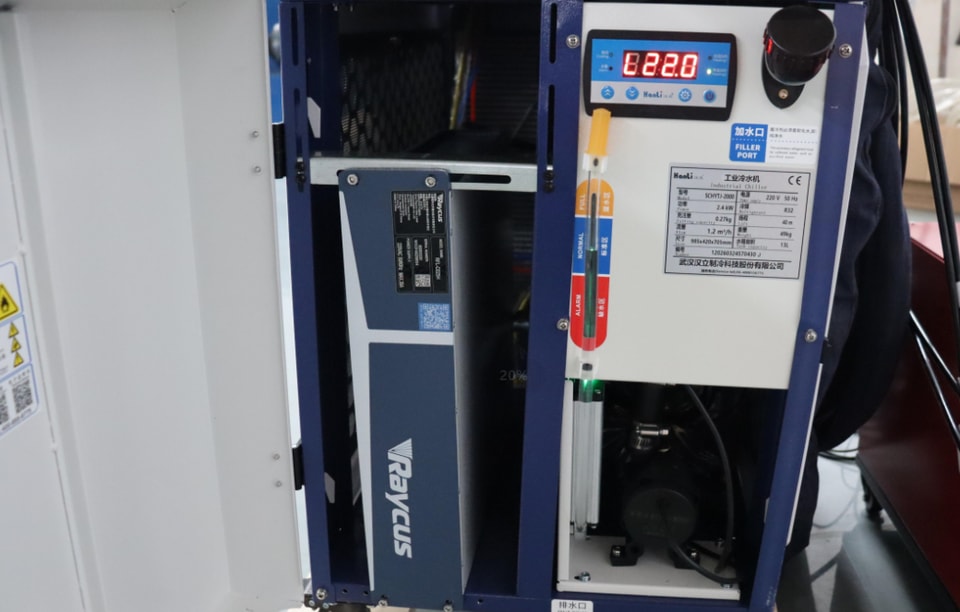 How to Choose Between Air-Cooled and Water-Cooled Laser Welding Systems
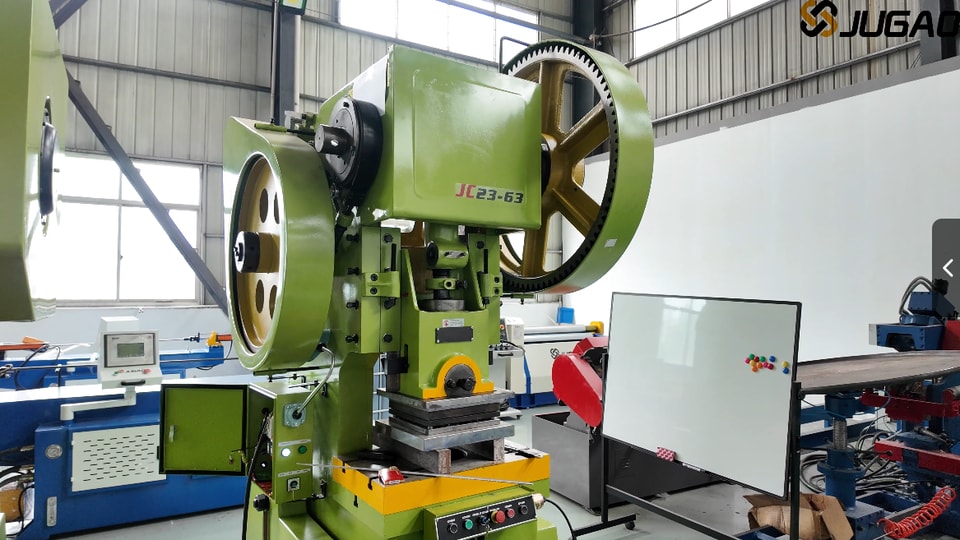 Understanding Punching Machines: Principles, Types, and Selection
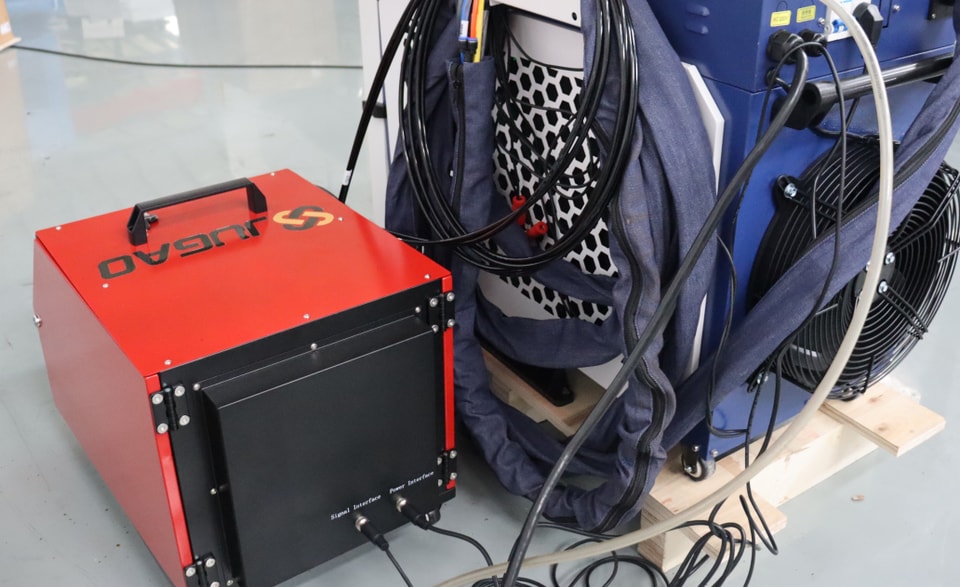 For which types of products is an automatic wire-feeding laser welding machine suitable?
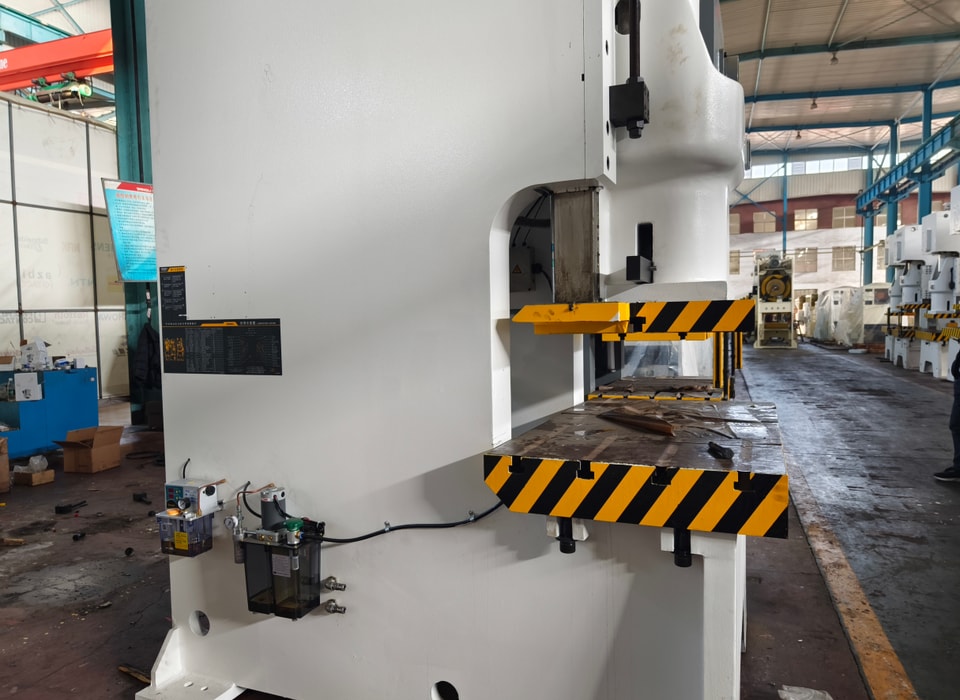 What Are the Latest Punching Machine Trends and Technological Breakthroughs?
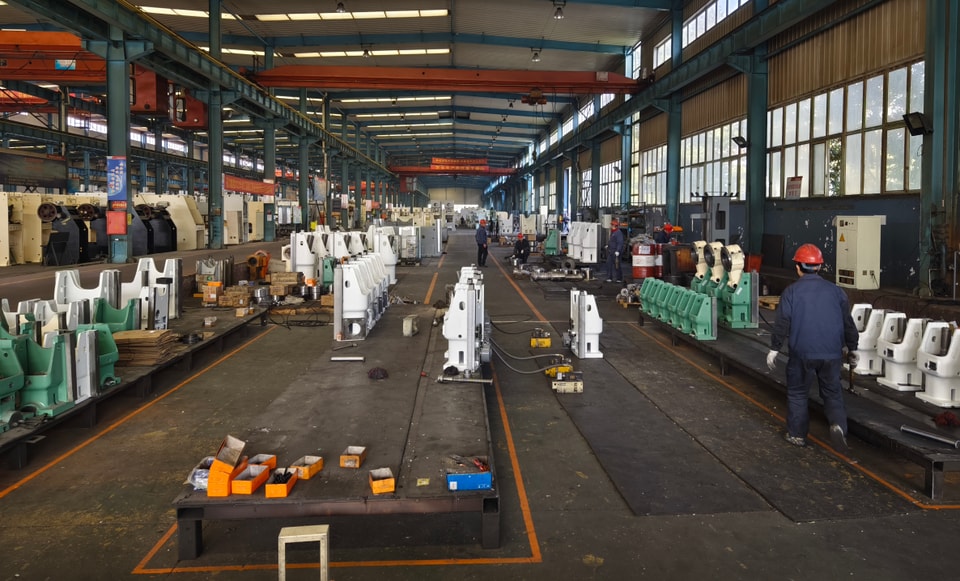 What Triggers Punching Machine Noise and How Can You Quieten It?
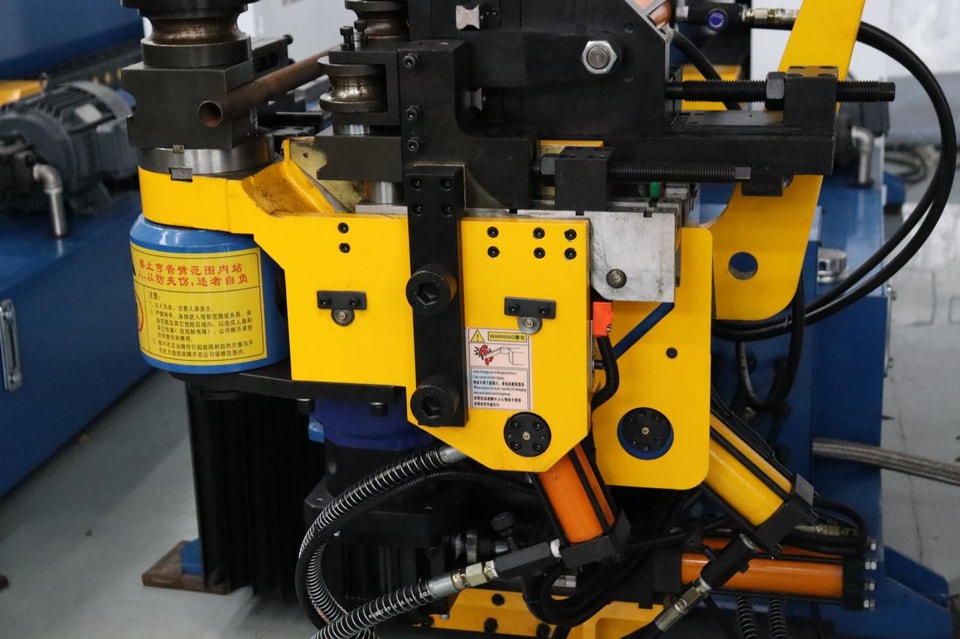 What factors influence the replacement cycle of wear parts in a pipe-bending machine?
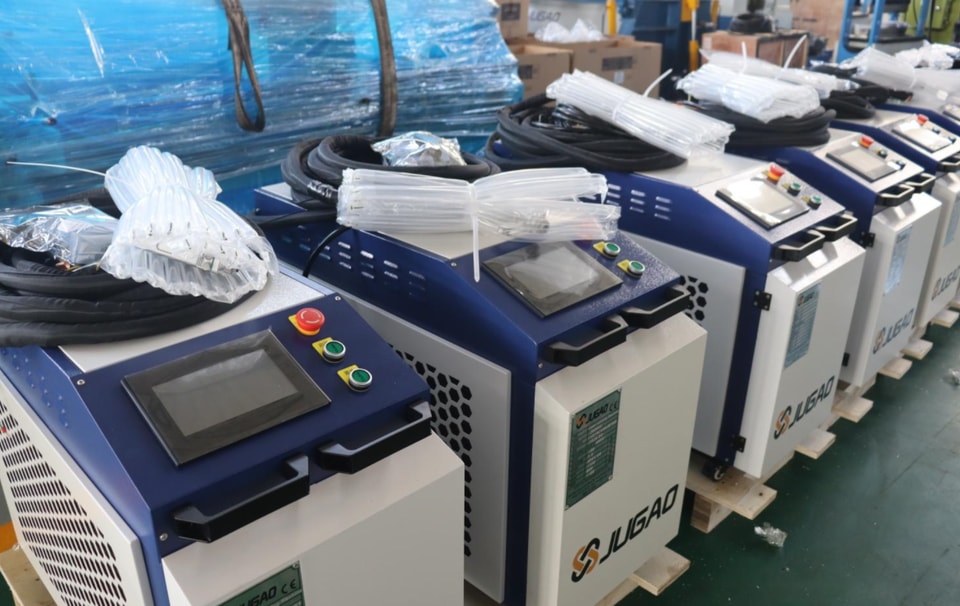 Beyond price, what key parameters should you consider when purchasing welding equipment?
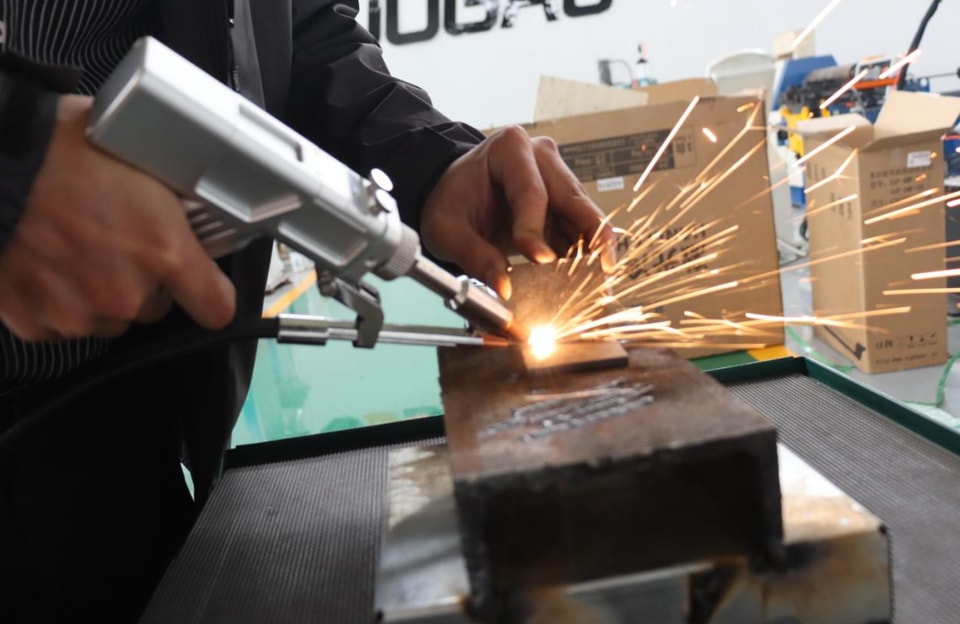 4 Common Methods for Inspecting Weld Quality
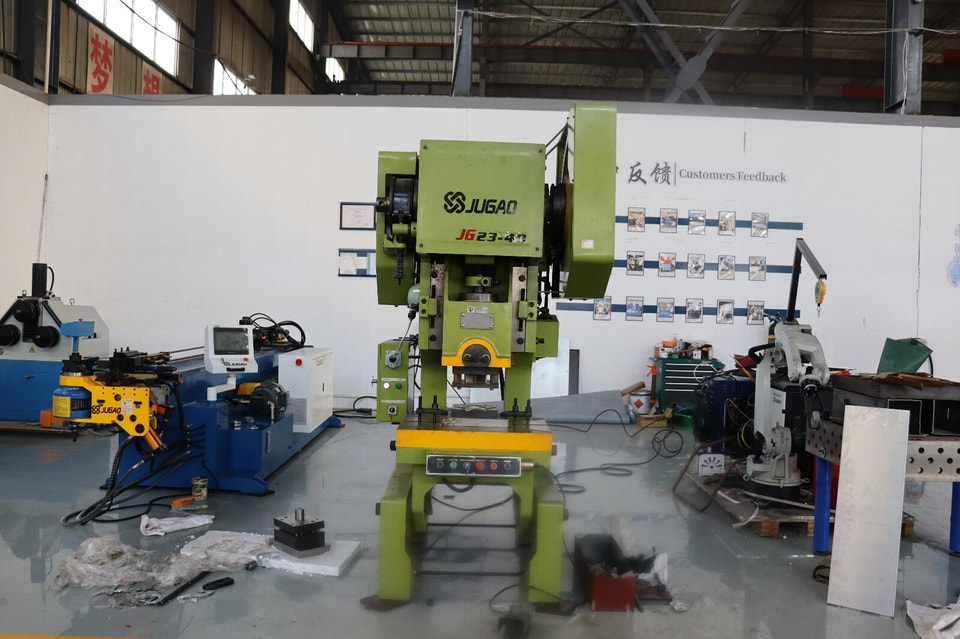 Selecting the Top Punching Machines for Small Workshops & Heavy Industry
 How do you set the welding path for a robotic laser welding machine? Can it perform precise welding on complex workpieces?
 Essential Considerations Before Purchasing a Punching Machine
Engineering review
Send a drawing.
Get an engineer.
Standard selections answered within 4 hours. Parts outside the rules get a written process review within 24 hours.
- Part drawing: DXF, DWG, STEP or PDF
- Material and thickness
- Longest bend or cut length
- Yearly volume
Write to info@ntjugao.com or message the factory on WhatsApp +86 132 2211 1178.
Drawings (DXF, DWG, STEP, PDF): attach them to an email to info@ntjugao.com, quoting your name.