 Get a quote
Resources
What are the necessary preparation steps for hydraulic shearing machine?
Still worried about inefficient shearing? Inadequate preparation often leads to equipment damage and operational errors, directly impacting your work performance. Mastering the following essential preparation steps for your hydraulic shear will ensure smoother operation and more precise cutting.

Preparing a hydraulic shear is crucial: checking blade alignment, confirming the hydraulic oil level, and calibrating the machine to the material being processed are essential. Proper preparation not only ensures cutting accuracy, increases productivity, and extends the life of the machine, but also provides the foundation for maintaining optimal performance and avoiding costly downtime.
Next, we will analyze each preparation step in detail to help you fully master the operation essentials.
To ensure the safety and efficiency of your hydraulic shears, you must prepare them properly before starting. This article will introduce the core preparation steps that will help you avoid problems and improve cut quality. These steps are essential for both daily use and regular maintenance. Next, we'll explain how to prepare your equipment for optimal performance, saving you time and effort.

For some new customers who are operating the HARSLE hydraulic shearing machine for the first time, when they receive the metal shearing machine at the factory, they may be a little confused about how to start the hydraulic shearing machine. Today, we will share with you some tips on how to operate the machine correctly.

Hydraulic shearing machine preparation steps
Fill the oil tank.
Use No. 46 hydraulic oil and ensure the oil level meets the required standards.
Connect the power supply.
Properly connect the cables between the hydraulic shear and the power supply.
Install the foot switch.
Securely connect the foot switch to the shear to ensure safe operation.
Release the emergency stop button.
Release the emergency stop button to prepare the machine for operation.
Start the pump and quickly stop it.
Start the pump and then immediately press the stop button to verify function.
Check the direction of motor rotation.
Observe the direction of rotation of the main motor:
Clockwise: Connection is correct.
Counterclockwise: Adjust the connection until the direction is clockwise.
Start and test run.
After all checks are completed, start the machine and perform a test run to ensure normal operation.
With these steps in mind, you can confidently prepare your hydraulic shear for operation. Learn more about each step to ensure your machine is running optimally!
Related
Keep
reading.
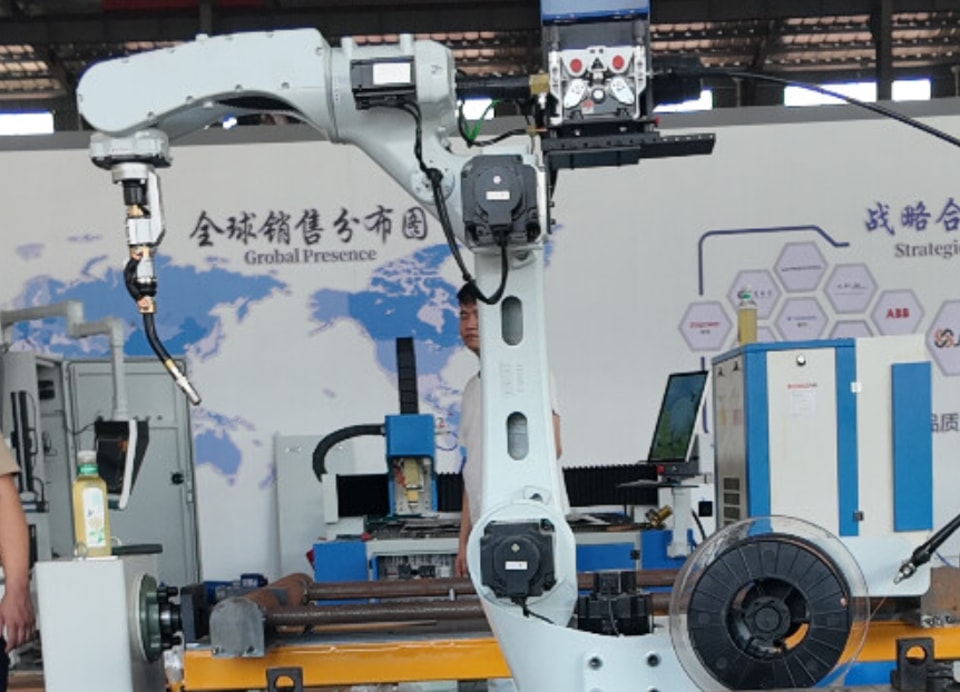 Comparison of Laser Welding Results and Application Scenarios Across Different Materials
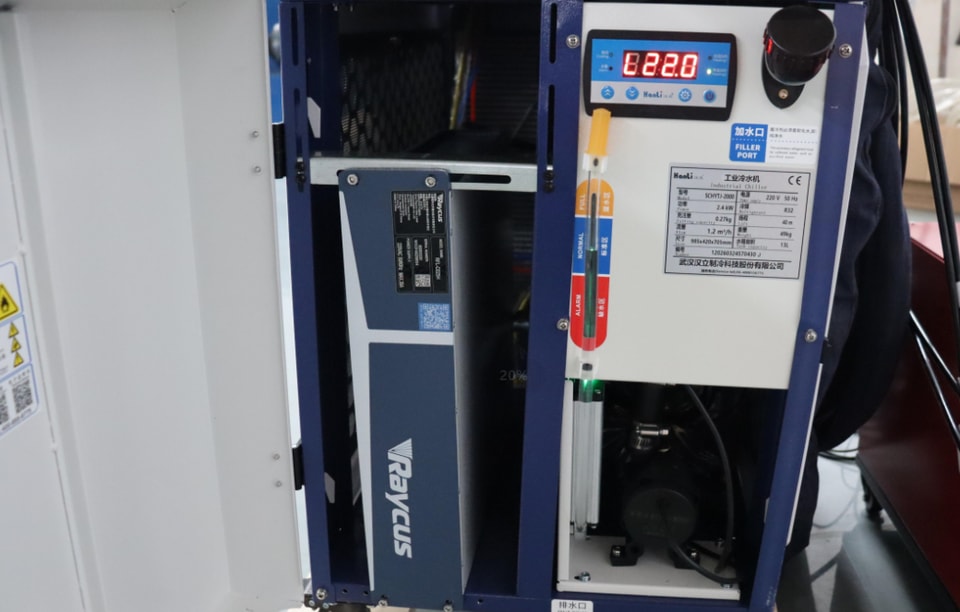 How to Choose Between Air-Cooled and Water-Cooled Laser Welding Systems
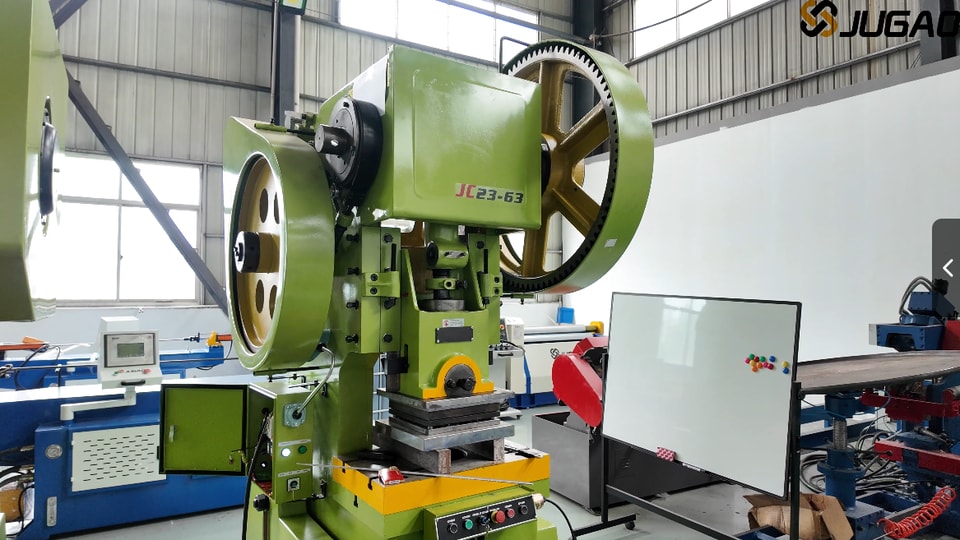 Understanding Punching Machines: Principles, Types, and Selection
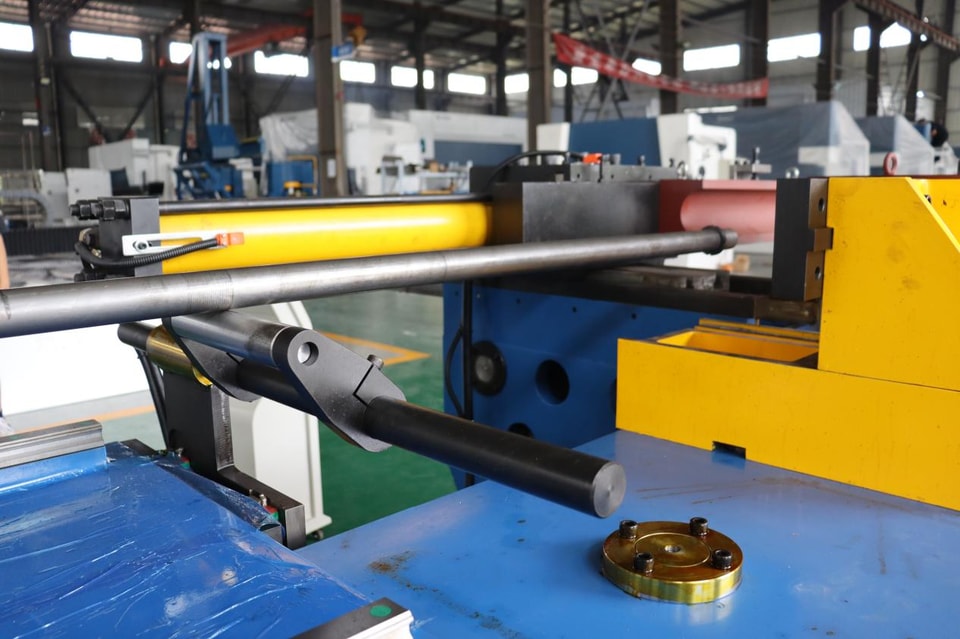 How can one effectively follow the installation guidelines for a pipe-bending machine?
 For which types of products is an automatic wire-feeding laser welding machine suitable?
 What Are the Latest Punching Machine Trends and Technological Breakthroughs?
 What Triggers Punching Machine Noise and How Can You Quieten It?
 What factors influence the replacement cycle of wear parts in a pipe-bending machine?
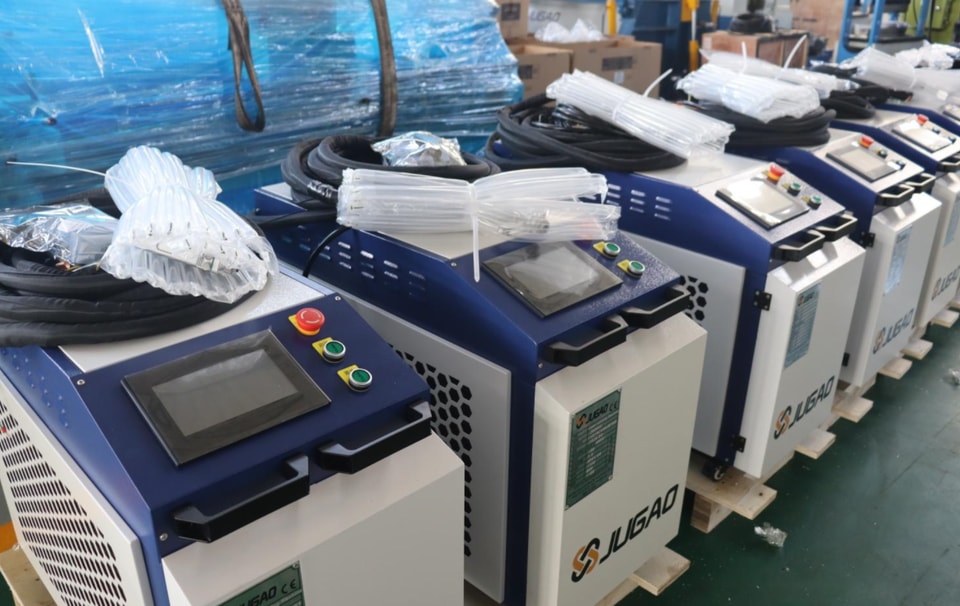 Beyond price, what key parameters should you consider when purchasing welding equipment?
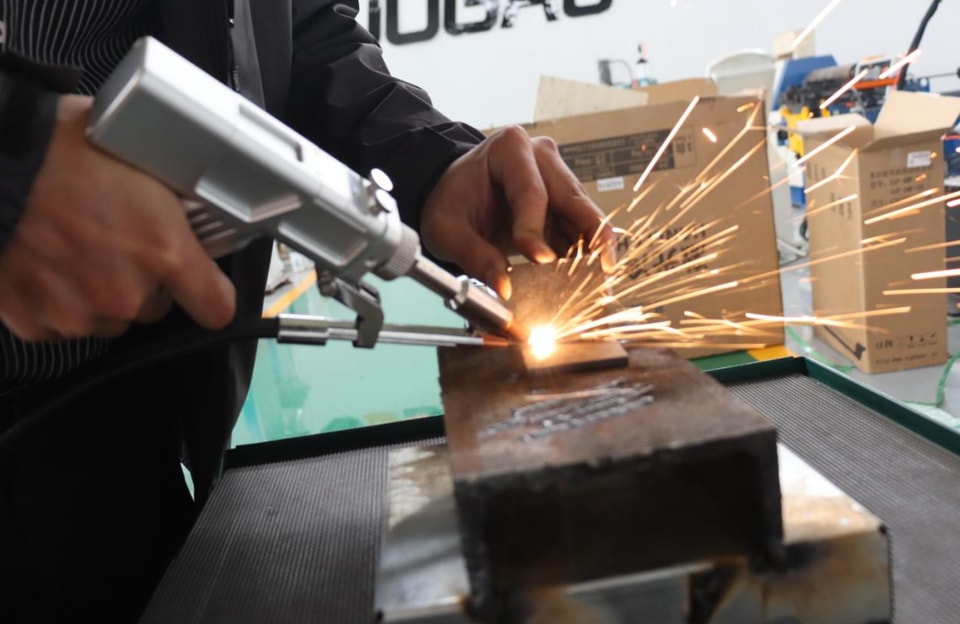 4 Common Methods for Inspecting Weld Quality
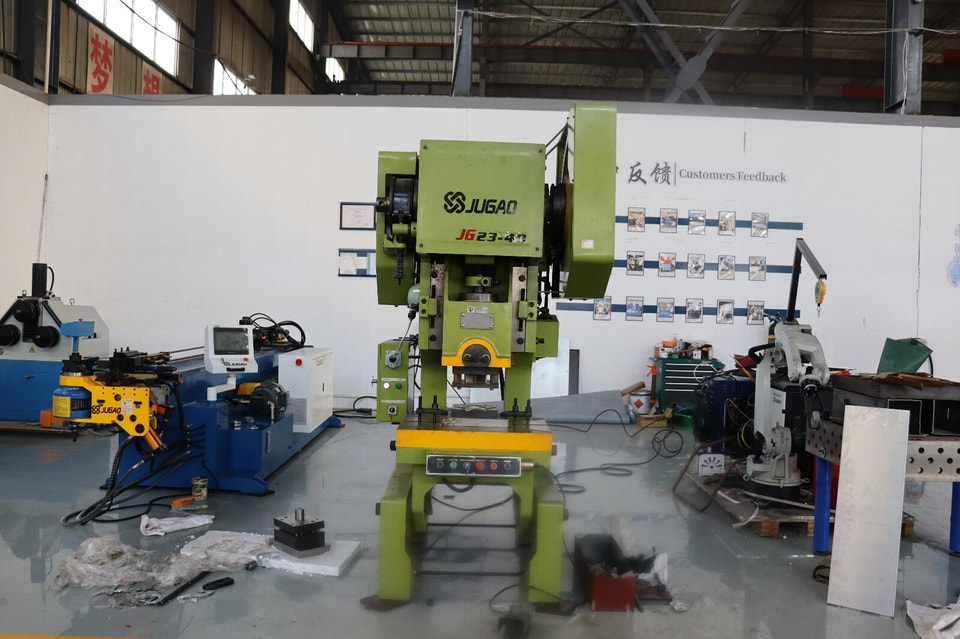 Selecting the Top Punching Machines for Small Workshops & Heavy Industry
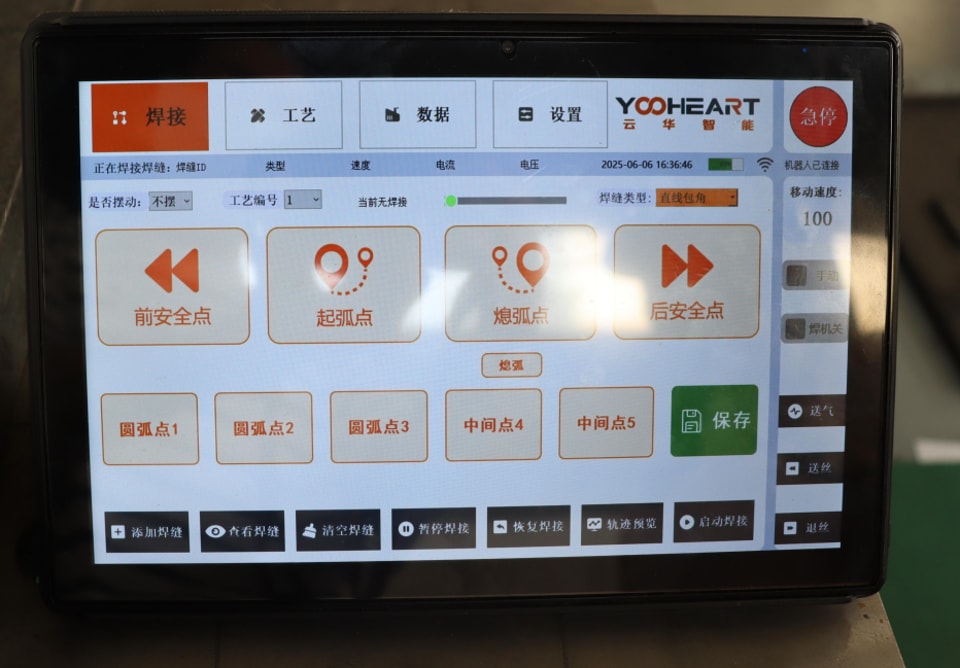 How do you set the welding path for a robotic laser welding machine? Can it perform precise welding on complex workpieces?
Engineering review
Send a drawing.
Get an engineer.
Standard selections answered within 4 hours. Parts outside the rules get a written process review within 24 hours.
- Part drawing: DXF, DWG, STEP or PDF
- Material and thickness
- Longest bend or cut length
- Yearly volume
Write to info@ntjugao.com or message the factory on WhatsApp +86 132 2211 1178.
Drawings (DXF, DWG, STEP, PDF): attach them to an email to info@ntjugao.com, quoting your name.