
How to Replace a Laser Cutting Head Protective Lens Step by Step
2026-08-20

Meta Description: Learn the correct laser cutting head protective lens replacement procedure, from preparation and chamber cleaning to installation, testing and maintenance.
Focus Keyword: laser cutting head protective lens replacement
Secondary Keywords: fiber laser protective lens; laser cutting head maintenance; protective window replacement; laser lens cleaning
Suggested URL Slug: /laser-cutting-head-protective-lens-replacement/
English Version
How to Replace a Laser Cutting Head Protective Lens Step by Step
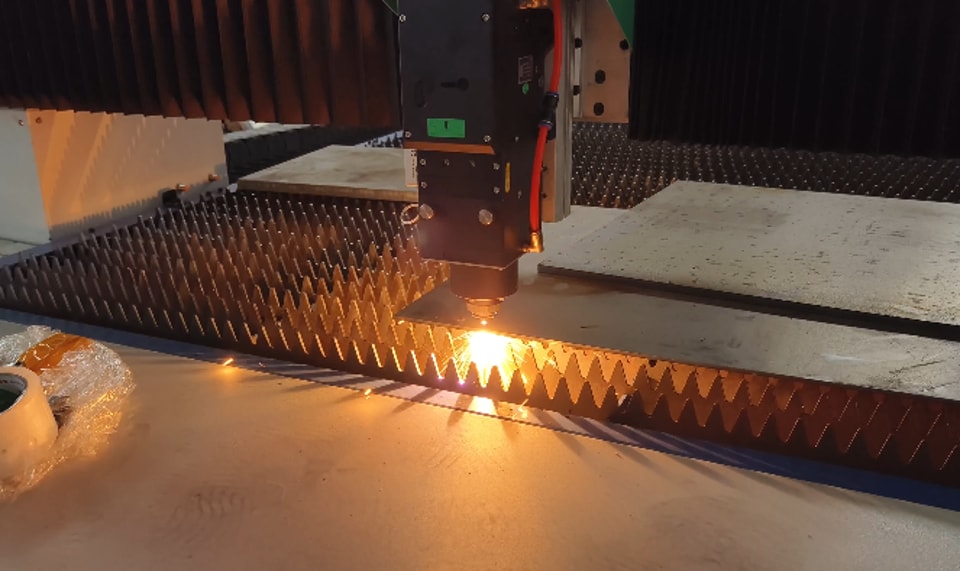
The protective lens in a fiber laser cutting head forms an important barrier between the cutting zone and the internal optical system. During production, dust, metal spatter and heat can gradually contaminate or damage its surface. Once the lens condition deteriorates, beam transmission may become less stable and cutting quality can decline.
Correct replacement is therefore an essential maintenance procedure. This JUGAO guide preserves the original six-step operating sequence while rebuilding the wording and structure for an original, publication-ready technical article.
Why the Lower Protective Lens Needs Replacement
The lower protective lens works close to the cutting area and is exposed to demanding conditions. Replacement should be considered when visible contamination, burn marks, scratches or coating damage appear, or when cutting precision and consistency begin to decline. A deteriorated lens can reduce effective laser transmission and may leave internal optical components more vulnerable to contamination.
Preparation Before Replacement
Prepare the work area before opening the cutting head. The replacement should be carried out in a clean, controlled environment because even small particles introduced during disassembly can affect optical performance.
Required Tools and Materials
· New protective lens
· Dust-free cloth or lens paper
· High-purity alcohol (≥98%)
· Cotton swabs
· Hex wrench or other appropriate tool
· Clean gloves
Step-by-Step Laser Cutting Head Protective Lens Replacement
Step 1: Power Off and Clean the Cutting Head Exterior
Shut down the machine completely and make sure the laser source is switched off before beginning the replacement. Clean the exterior of the cutting head with a lint-free cloth so loose dust is less likely to enter the lens chamber when the assembly is opened.
Step 2: Remove the Nozzle and Lens Cover
Carefully remove the nozzle to gain access to the protective lens assembly. Use the correct tool to loosen the lens cover or retaining parts. Work slowly and avoid sudden movement or unnecessary force, which can disturb dust and introduce contamination into the chamber.
Step 3: Remove the Old Protective Lens
Withdraw the lens holder carefully and remove the used protective lens. Handle the lens only by its edges. Fingerprints, skin oil or direct contact with the optical surface can interfere with laser transmission and should be avoided throughout the procedure.
Step 4: Clean the Internal Lens Chamber
Before installing the replacement lens, clean the internal chamber thoroughly. Use high-purity alcohol together with lint-free materials or suitable cotton swabs to remove dust and debris. Any contamination left inside can immediately affect the new lens after installation, so this stage should not be rushed.
Step 5: Install the New Protective Lens
Take the new lens and remove the protective film from one side. Holding only the edges, place the lens into the holder. After it is positioned correctly, remove the remaining protective film and secure the lens with the locking ring. Confirm that the lens sits flat and is not tilted, because incorrect seating may affect laser focus and cutting consistency.
Step 6: Reassemble and Perform a Test Cut
Reinstall the lens holder and all retaining components, making sure they are correctly positioned and securely tightened. Power on the machine only after reassembly is complete. Perform a test cut and observe cutting quality and stability to confirm that the replacement has been successful.
Important Precautions for Lens Replacement
· Wear clean gloves during the entire replacement process.
· Never touch the optical surfaces directly.
· Carry out the work in a clean, low-dust environment.
· Inspect sealing components and replace them if damaged.
· Use suitable high-quality or original-specification protective lenses.
Common Mistakes to Avoid
Many problems that appear after lens replacement are caused by handling or assembly errors rather than a fault in the cutting head. Common mistakes include installing the lens in the wrong orientation, leaving dust inside the chamber, touching the optical surface and tightening retaining components incorrectly.
When Should the Protective Lens Be Replaced?
Replacement frequency depends on material type, cutting intensity and workshop conditions. Inspect the lens regularly rather than relying only on a fixed interval. Replacement is recommended when cutting quality becomes unstable, contamination cannot be removed safely, burn marks appear on the surface, or frequent alarms and cutting interruptions begin to occur.
Frequently Asked Questions
How often should the protective lens be replaced?
There is no universal replacement interval. High-power cutting and thick carbon-steel processing can generate more spatter and fumes, which may shorten lens life. Regular inspection is more reliable than replacing the lens on a fixed calendar schedule.
Can I clean the lens instead of replacing it?
Light contamination may be cleaned when the optical surface and coating remain intact. If the lens has burn marks, scratches or coating damage, cleaning will not restore its original performance and replacement is required.
What happens if a damaged protective lens remains in use?
A damaged lens can reduce beam quality and cutting precision, producing rough edges or unstable results. It may also allow additional heat or contamination to affect internal cutting-head components.
Why is cleanliness so important during replacement?
Small particles, fingerprints and oil residue can interfere with laser transmission and may create localized heating on the lens. A clean work area and careful handling help protect both the new lens and the internal optical system.
Maintenance Tips for the Laser Cutting Head Protective Lens
· Inspect lens condition before each shift or production cycle.
· Keep the cutting head exterior clean to reduce dust entry.
· Check sealing components regularly.
· Avoid excessively dusty operating environments whenever possible.
· Use suitable high-quality or original-specification protective lenses.
Conclusion
Proper protective lens replacement helps maintain cutting quality, protect internal optical components and support stable machine operation. Following the correct sequence—safe shutdown, external cleaning, disassembly, careful lens removal, chamber cleaning, new-lens installation, reassembly and testing—reduces contamination risk and improves maintenance reliability.
For model-specific replacement requirements or technical assistance, refer to the documentation supplied with the machine or contact the JUGAO technical service team.
Contact Us