



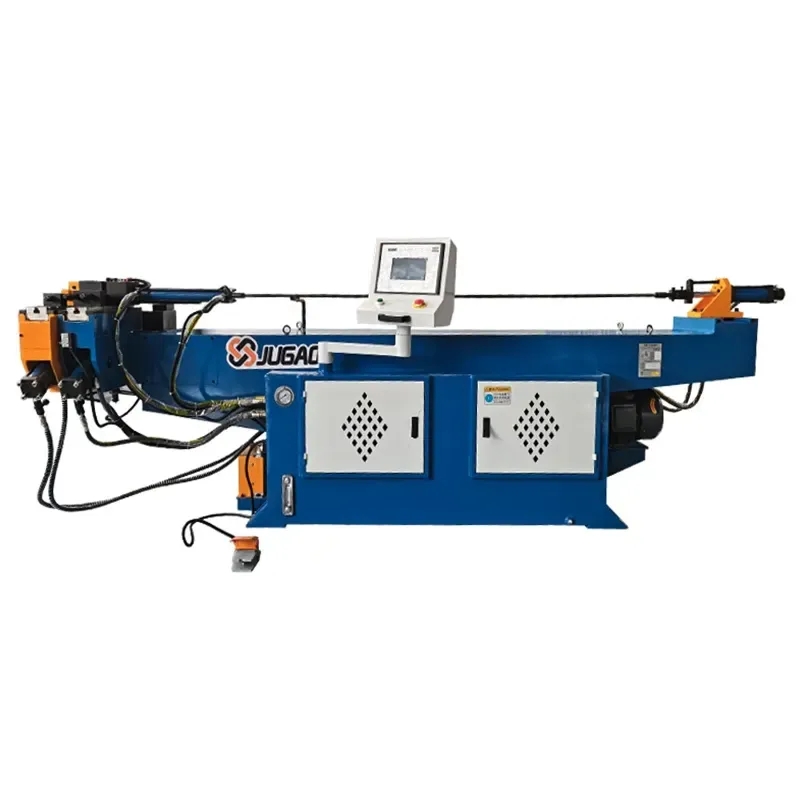
How do you properly change the hydraulic oil in a pipe bending machine? A seasoned expert provides a detailed, step-by-step guide.
2026-06-10

Hydraulic oil is the "lifeblood" of a pipe bending machine, performing three critical functions: transmitting pressure, lubricating moving parts, and dissipating heat. If the oil becomes dirty, low in volume, or degraded, the machine may experience unstable pressure, sluggish operation, and inaccurate bending angles; in severe cases, it can even damage the oil pump and valves. Many seemingly inexplicable malfunctions ultimately trace back to issues with the hydraulic oil. Below, I will clearly outline the complete oil-change process, the recommended schedule, and important precautions.
1. When should the oil be changed? Keep these milestones in mind.
Break-in period for new machines: The oil must be changed after the new pipe bender has operated for 500 hours. During the break-in phase, internal components generate metal shavings; if these mix with the oil, they can cause wear on seals and valve spools. Changing the oil at the 500-hour mark effectively "purifies the system."
Normal operating cycle: Subsequent changes should occur every 2,000 to 4,000 hours. The specific interval depends on usage intensity: opt for 2,000 hours if the machine operates on double shifts or handles heavy loads; extend to 4,000 hours for light-load or intermittent use.
Do not wait—change the oil immediately if you notice any of the following signs:
Abnormal rise in oil temperature (e.g., rising easily above 65°C compared to the usual 50°C)
Sluggish cylinder movement or a noticeable loss of power
Increased hydraulic pump noise, such as rattling or hissing sounds
Oil turning dark/black or milky white (indicating water contamination)
A burnt odor detected when opening the oil tank cap
II. Preparations Before Oil Change
Tools and materials: Manufacturer-specified hydraulic oil (typically ISO VG 32 or 46), new filter elements (suction and return filters), clean lint-free cloth, waste oil container, filtering funnel, gloves, and safety goggles.
Safety measures: Shut down the machine and disconnect the power; wait 10–15 minutes for the oil temperature to drop to a safe level. System pressure must be fully relieved—this can be done by cycling the hydraulic cylinders a few times under no-load conditions.
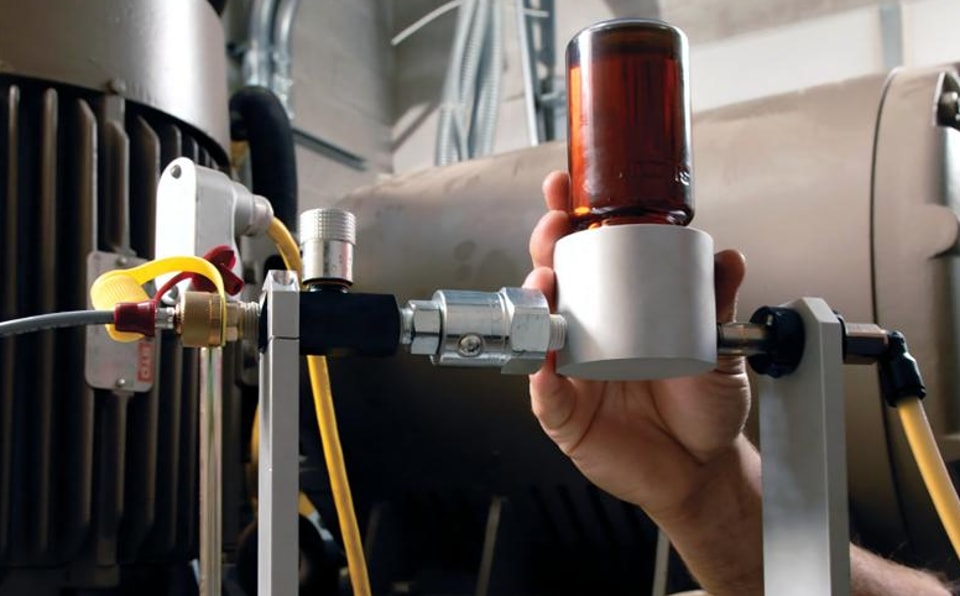
III. Detailed Seven-Step Oil Change Procedure
Step 1: Drain the Old Oil
Locate the drain plug at the bottom of the oil tank and place a waste oil container underneath. Slowly unscrew the plug to allow the old oil to drain out. Draining is more effective if the oil is still warm (but not hot enough to burn your hands), as warm oil flows more easily and carries away sludge settled at the bottom. The draining process may take over ten minutes; be patient and wait until it has completely dripped out.
Step 2: Clean the Interior of the Oil Tank
Once the old oil has drained, remove the tank cover plate or manhole cover. Use a lint-free cloth to wipe down the inner walls, bottom, and corners of the tank, removing all accumulated sludge and metal particles. Never use cotton waste or ordinary rags, as they shed fibers that can clog oil passages. If the tank bottom contains a magnet (common in many machines), remove and clean it thoroughly before reinstalling.
Step 3: Replace or Clean the Filter Element
The hydraulic filter element acts as the "kidney" of the oil system. You must replace the return filter element during every oil change, while the suction filter element can either be cleaned or replaced depending on its condition. Remember: changing the oil without changing the filter is a wasted effort—contaminants trapped in the old filter will quickly pollute the new oil. Do not discard the old filter immediately; you can use it to assess the level of contamination. Cutting it open to inspect for metal shavings and sludge provides a valuable opportunity to evaluate the machine's wear and tear.
Step 4: Inspect and clean other components
While you are at it, check the condition of the tank's internal heater (if equipped), the oil level gauge, and the return line fittings. Clean the gauge's glass tube with a cloth if it is dirty; otherwise, the oil level will be difficult to read later. Check the suction line fittings for looseness, as loose connections can allow air to be drawn into the system.
Step 5: Fill with new oil
Ensure all drain plugs and fittings are securely tightened. Use the oil grade and viscosity specified by the manufacturer (typically ISO VG 46 for standard-temperature workshops and VG 32 for cold environments). Pour the oil slowly through a filtered funnel to prevent the introduction of impurities and air bubbles. Fill to a level between the middle and upper marks on the dipstick, ensuring it does not exceed the maximum line. Keep the area around the fill port clean during the process to prevent dust from falling in.
Step 6: Bleed air from the system
After filling with new oil, air will remain in the lines. Start the machine at low speed (jog the oil pump motor) and cycle the cylinder without a load 5 to 10 times. The oil level will drop as the fluid fills the lines. Stop the machine and top up the hydraulic oil to the middle mark on the dipstick. Repeat this bleeding and topping-up process 2–3 times until the cylinder moves smoothly without "stick-slip" (jerky) motion. Failure to perform this step correctly can result in vibration, noise, and pressure instability.
Step 7: Test run and inspection
Start the machine for normal operation and monitor the oil temperature and pressure gauges. Check all fittings and drain plugs for leaks. After running for 15–30 minutes, stop the machine again to check the oil level and top up if necessary. Record the oil change date, oil type, and operating hours for future maintenance reference.
IV. Three Common Mistakes When Changing Oil
Mistake 1: Mixing oils of different brands or grades
Additive formulations in hydraulic oils from different brands may conflict; mixing them can trigger chemical reactions that reduce lubrication performance, cause foaming, and increase sludge buildup. Mixing is not recommended, even if the viscosity grades are identical. If the same brand is unavailable, try to thoroughly clean the oil tank before adding the new oil.
Mistake 2: Changing the oil without replacing the filter element
If the filter element is clogged or dirty, the new oil will quickly become contaminated to the same level as the old oil. Return-line filter elements are inexpensive and must be replaced during every oil change. It is also recommended to replace the suction filter element every two oil changes.
Mistake 3: Neglecting environmental cleanliness
Changing oil in dusty or windy areas, or using dirty funnels and containers, effectively introduces impurities into the new oil. Wipe the area around the filler port clean with a cloth before the change, and ensure that all filling tools are clean. Do not dispose of waste oil indiscriminately; hand it over to a professional recycling service.
V. Tips for Routine Maintenance
Weekly: Check the oil level and top up if low. Observe the oil color; a whitish appearance indicates water ingress, while a blackish color indicates high-temperature oxidation.
Monthly: Check the bottom of the oil tank for sediment and inspect the filter element differential pressure indicator (if equipped).
Every six months: Send oil samples for laboratory analysis (if facilities allow) and adjust the oil change interval based on the results.
Oil temperature management: Maintain the oil temperature between 35°C and 55°C. Prolonged exposure to high temperatures accelerates oxidation and shortens the oil change interval.
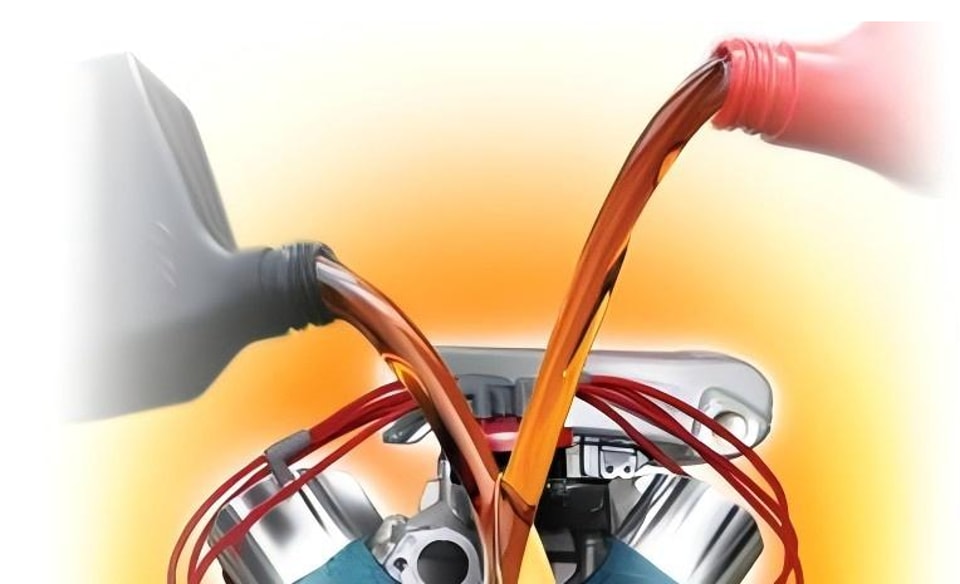
Hydraulic oil is the lifeblood of a pipe bending machine. If you get these four things right—changing the oil according to schedule, replacing the filter element whenever you change the oil, using the correct type of oil, and ensuring proper air bleeding and cleanliness—your hydraulic system will last years longer and suffer far fewer inexplicable breakdowns.
Contact Us