- tel:+86-13222111178
- email:info@ntjugao.com


Welding Robot Operation Tutorial for Beginners
Welding Robot Operation Tutorial for Beginners

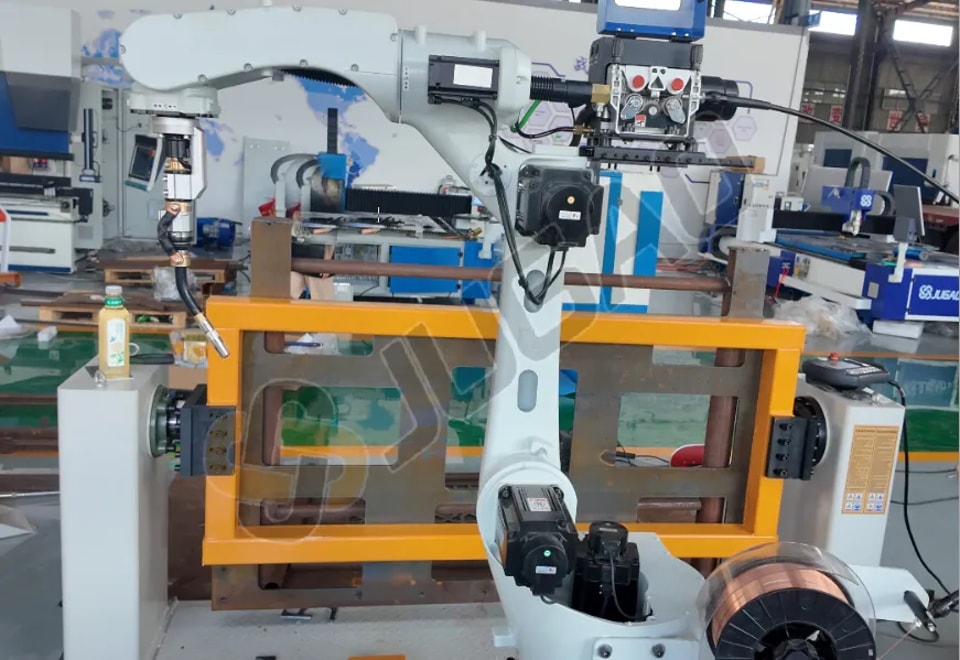
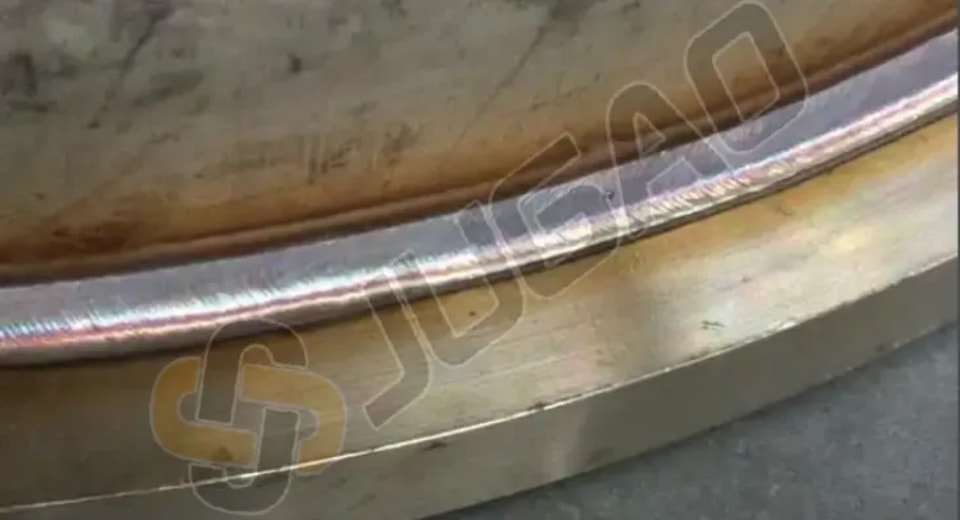
As everyone knows, traditional welding work is quite harmful to the human body and cannot guarantee product quality. Many companies use robots to replace manual welding. However, welding robots must be operated correctly to avoid machine malfunctions. Welding robots have high production efficiency, high welding strength, narrow weld seams, and less workpiece deformation. Below is a tutorial on operating welding robots to help you.
Welding Robot Operation Tutorial for Beginners
1. Robot Power-On Procedure: First, close the air switch, then turn on the robot transformer power-on button, then turn on the welding power switch, and finally turn on the robot control cabinet power.
2. Robot Power-Off Procedure: First, turn off the robot control cabinet power, then turn off the welding power switch, then disconnect the robot transformer power, and finally pull down the air switch.
3. After the welding robot control cabinet is powered on, the system startup (data transmission) takes some time. Wait for the teaching pendant display to show the operation interface before operating.
4. Before operating the robot, all personnel should retreat to a safe area (behind the safety line).
5. During the teaching process, always keep the teach pendant in your hand and do not place it carelessly. Tuck your left hand into the strap to prevent accidental drops. Keep the cable neatly placed where it will not be stepped on, and do not pull on it forcefully; leave sufficient length.
6. For operator safety, some robot operating data and programs have been pre-set. Beginners should not access these menus or make changes without permission to avoid danger. If any abnormal prompts are encountered during operation, report them to the instructor immediately; do not operate blindly.
7. If a dangerous situation occurs during robot operation, press the emergency stop switch immediately to stop the robot and prevent personal injury or property damage.
8. After programming, run the program through the tracking function, modifying the track points line by line. After checking that the trajectory and various parameters are accurate, open the valve of the protective gas cylinder. Then, illuminate the gas detection icon on the teach pendant, adjust the flow meter's levitation ball, close the gas detection, and move the cursor to the program's starting point.
9. Before welding, hang the teach pendant, turn the key to the "Auto" position, turn on the fume extraction system, and press the robot start button. When observing the arc, hold your face mask to avoid eye damage or burns from exposed skin. If any welding abnormality is found, immediately press the stop button and record the information.
10. After finishing operation, turn the mode switch key to the "Teach" position, turn off the fume extractor, close the valve on the protective gas cylinder to release residual gas from the air pipe, return the welding robot to its initial position, exit the teaching program, then turn off the power as required, neatly arrange the teach pendant's control cable reel, hang the teach pendant in the designated location, and leave the site after tidying up.
The above is the relevant content of the welding robot operation tutorial. Welding robot operators must be professionally trained and certified, and must be familiar with the correct operating procedures and daily maintenance of the robot. If you still have any questions about the above content, you can leave a message on this website, and the editor will reply as soon as possible.
Contact Us