
Changing dies on a tube bending machine might look simple, but an improper installation leads to a host of problems.
2026-09-17

In the tube bending workshop, changing dies is an almost daily occurrence; whenever the product changes or the tube diameter is altered, the tooling must be swapped out accordingly. Many operators view this as a routine task they could perform with their eyes closed. However, I have witnessed countless quality issues—such as wrinkling, flattening, poor clamping, and inconsistent bending angles—stemming from improperly installed dies. After troubleshooting, we often find that the programs and parameters are correct, only to discover the die was misaligned or not securely locked in place.
Changing dies is far more than just swapping the old for the new; it directly impacts bending quality, tool longevity, and machine stability. A correct installation ensures smooth mass production, whereas an incorrect one makes it nearly impossible to produce compliant parts, no matter how much time is spent on adjustments.
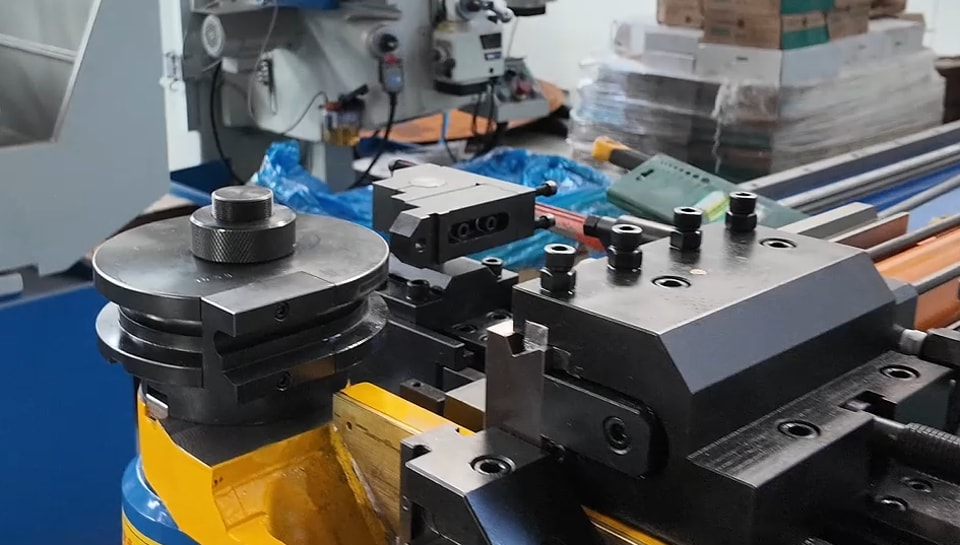
Different tube-bending tasks require different tooling combinations.
Even if two tubes are made of the same material, differences in diameter, wall thickness, bend radius, or product shape necessitate completely different tooling. Selecting the correct tooling ensures the machine can reliably guide and support the tube, resulting in consistent bend angles while preventing the tooling and the tube from being subjected to excessive stress.
Conversely, mismatched or incorrectly installed tooling can lead to issues ranging from poor bend quality and high scrap rates to premature tooling wear and machine downtime. From a production management perspective, efficient tooling changeovers are crucial for maximizing equipment utilization and maintaining consistent product quality.
First, familiarize yourself with the tooling on the tube bending machine.
Before attempting a changeover, you need to understand the function of each tool.
The bend die is the core forming tool that determines the bend radius. Mounted on the bending arm, it rotates along with the arm during the bending process. When selecting a bend die, its dimensions must match the tube diameter and the desired bend radius.
The clamp die is responsible for firmly holding the tube against the bend die during the bending cycle. Stable clamping force prevents the tube from slipping and ensures positioning accuracy.
The pressure die supports the straight section of the tube and controls material flow. Proper adjustment of the pressure die results in smoother deformation and reduces the risk of wrinkling or excessive flattening.
Anti-wrinkle dies and mandrels—while not standard on every machine—are often required for thin-walled tubes or tight-radius bends. The anti-wrinkle die prevents wrinkling on the inner radius, while the mandrel supports the tube from the inside to minimize collapse.
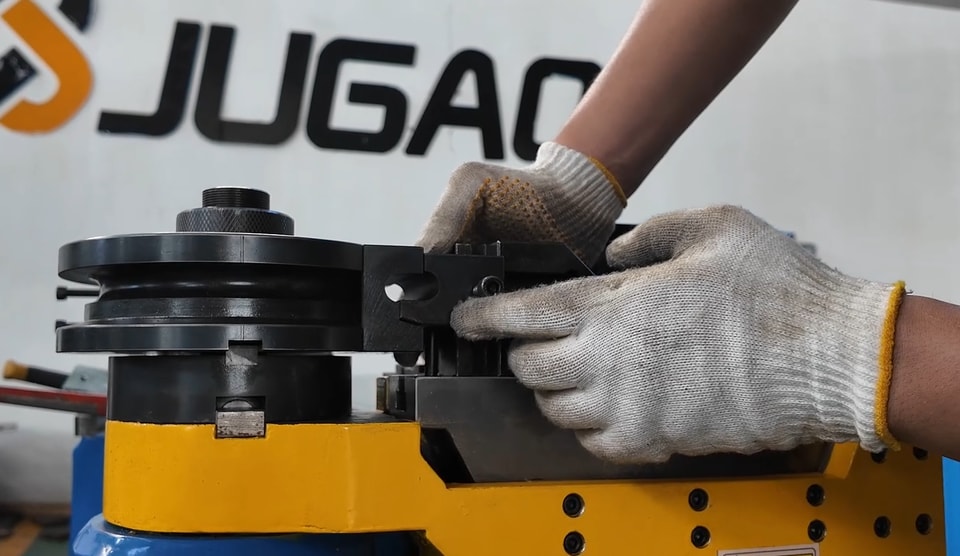
How do you select the right tooling? This is not an extra step in the changeover process, but an integral part of it.
Experienced operators treat tooling selection as part of the changeover workflow rather than a separate, isolated task. Before installation, verify the following specifications: tube outer diameter, wall thickness, required bending radius, material type, and production requirements.
For instance, a thin-walled stainless steel tube and a carbon steel tube of the same diameter may require completely different tooling setups. Even if the program is perfectly written, the wrong choice of tooling will still result in a defective bend.
Stop the machine before starting work.
The machine must be in a safe state before a tool change. Complete the current bending cycle, move the axes to a safe position, gather all necessary replacement tools, verify specifications, put on personal protective equipment (PPE), and ensure there is sufficient operating space around the machine.
A quick reminder: mold structures, locking mechanisms, and adjustment methods vary among tube benders from different manufacturers. The steps below serve only as a general guide; when actually changing tools, be sure to follow your specific equipment manual or consult the manufacturer's technical support directly.
Thorough preparation can save a significant amount of time during a mold change.
Before removing the old mold, inspect the new one for any dents, scratches, or excessive wear. Then, carefully clean all mounting surfaces—removing metal chips, dust, rust, and residual lubricant.
These seemingly minor details can prevent the mold from seating correctly, leading to alignment errors that directly compromise the quality of the bent pipe. Experienced technicians invest extra time in cleaning and inspecting these surfaces, knowing that precise positioning relies on clean contact areas.
When handling heavy molds, use appropriate lifting equipment to ensure both personal safety and the protection of the mold's precision surfaces.
Here is the step-by-step process for changing the tooling:
Step 1: Remove the old tooling. Release the locking mechanism according to the machine's design and carefully remove the installed tooling. During removal, avoid bumping or dragging the tooling across precision surfaces; damage here can reduce the tool's lifespan and compromise accuracy during the next installation.
Step 2: Clean and inspect the mounting area. After removing the old tooling, thoroughly clean the mounting surfaces and check for damage or abnormal wear. This simple step ensures the new tooling seats correctly, preventing unexpected positioning errors.
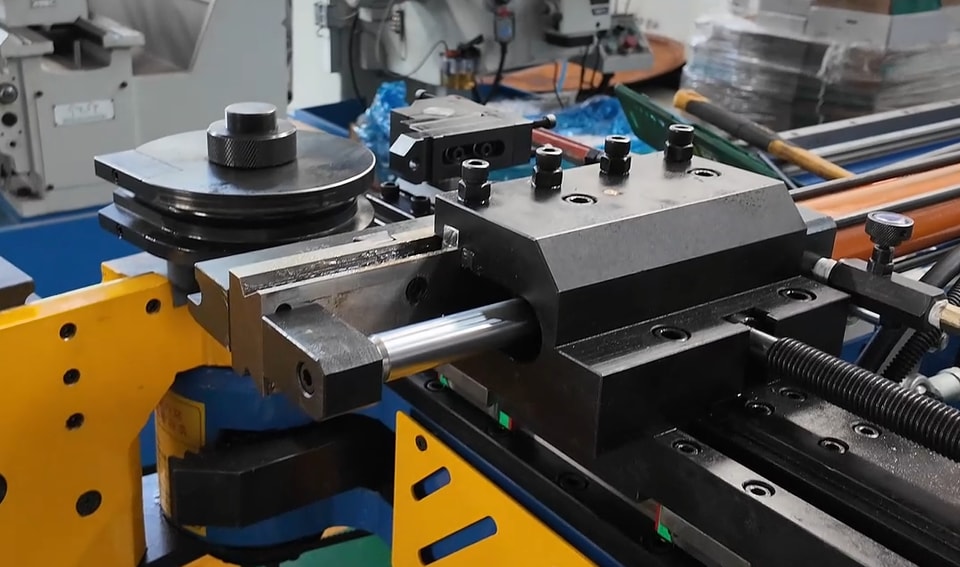
Step 3: Install the new bending die. Mount it according to the required tube diameter and bending radius. Before tightening, verify that the die is properly seated on the mounting surface and that there is no debris underneath.
Step 4: Install the clamping die and pressure die. These must remain correctly aligned with the bending die. Precise positioning is critical, as they work in unison during the bending process. Misalignment reduces clamping stability and affects the final bend quality.
Step 5: Install other tooling as required. If the process calls for an anti-wrinkle die or a mandrel, install and adjust them according to the workpiece specifications. Different applications may require specific clearance settings, so careful adjustment is necessary.
Step 6: Tighten and verify. Tighten all fasteners and confirm that every tooling component is properly installed before starting the machine. A final visual inspection at this stage can prevent many unnecessary issues during production.
After changing the tooling, perform a test bend before proceeding to mass production.
Changing the tooling does not mean production can start immediately. Experienced operators will perform one or more test bends before continuous production begins. This verification process confirms that the new tooling is correctly installed and aligned, and that the machine's movements match expectations.
Pay attention to the following during the test bend: bending angle, bending radius, surface quality, and whether the tubing shows signs of flattening, wrinkling, or unstable clamping.
If any issues arise, check the tooling alignment and installation quality before adjusting machine parameters. Often, minor positioning errors introduced during the tooling change are the actual cause of bending defects.
Common Mistakes During Die Changes
Installing a die with incorrect specifications; failing to clean the mounting surfaces; unevenly tightening bolts; overlooking die alignment; and skipping test bends before production.
While these errors may seem minor, they can lead to repeated adjustments, material waste, or unexpected downtime. Establishing standardized operating procedures can minimize these risks.
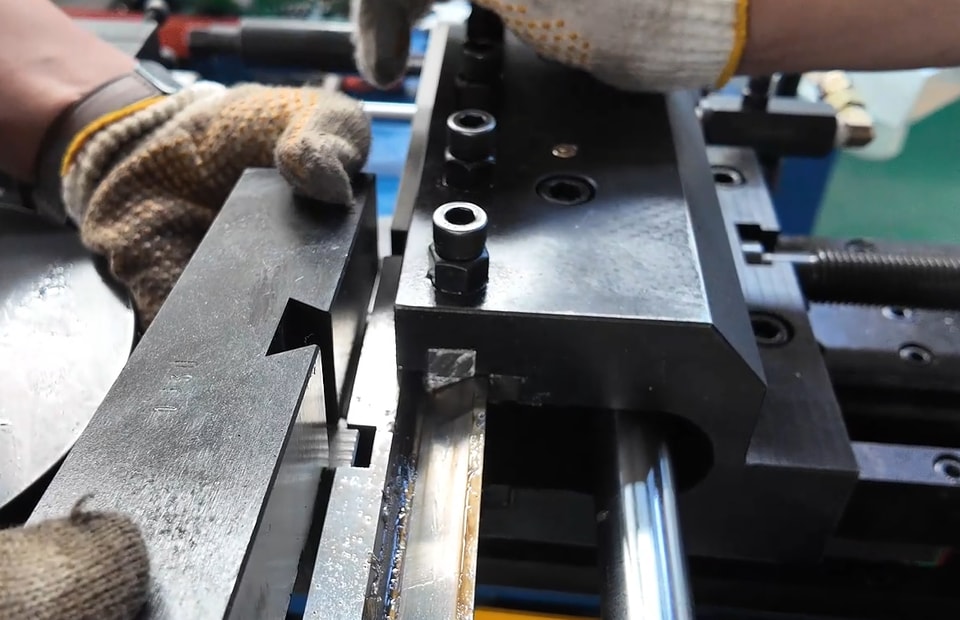
Machines vary; do not blindly follow tutorials.
The mold structure and replacement procedures for pipe-bending machines differ depending on the manufacturer and model. Therefore, the mold-changing processes shown in videos or described in general tutorials should serve only as technical references.
Always operate the equipment according to the manual, verify procedures with technical personnel, confirm machine compatibility before making adjustments, and do not alter machine settings without authorization. This ensures safety and prevents improper maintenance caused by differences in machine design.
Proper routine maintenance can reduce the frequency of mold changes.
Appropriate maintenance extends mold life and minimizes the need for mold changes. Practices include cleaning the mold after each shift, applying rust inhibitor during storage, regularly inspecting for wear, lubricating moving contact surfaces as needed, storing different mold sets separately, and checking fasteners before production begins.
These habits help maintain bending precision while lowering long-term operating costs.
Contact Us