- tel:+86-13222111178
- email:info@ntjugao.com


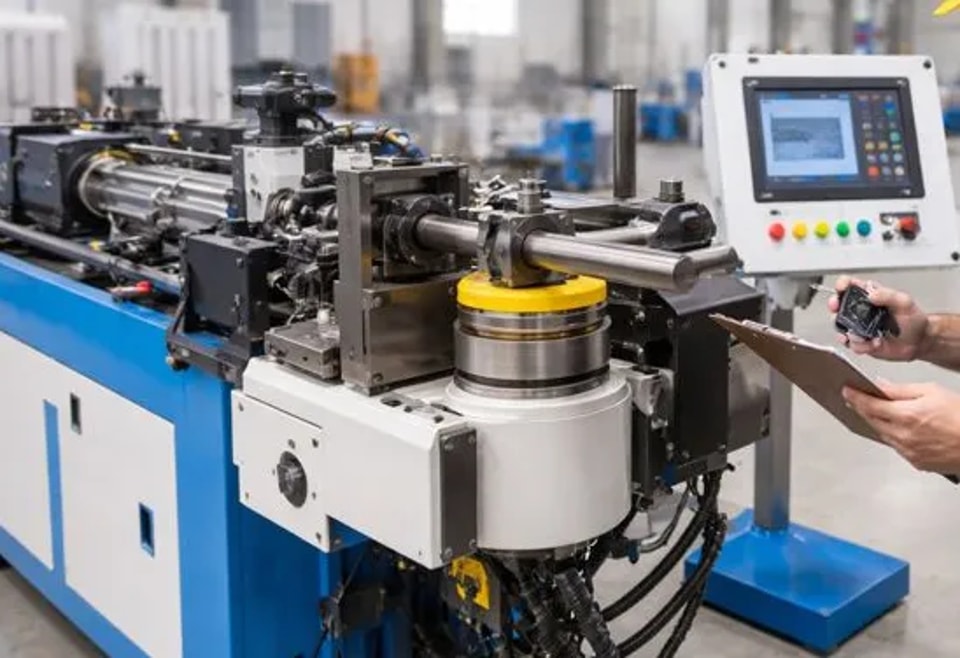
Don't rush into work after assembling the pipe bending machine; test it first. Skipping this step will lead to regret sooner or later.
Don't rush into work after assembling the pipe bending machine; test it first. Skipping this step will lead to regret sooner or later.

Many people are eager to start working and making money as soon as a new machine is installed or after a major overhaul. I advise you to hold back. If you don't do a thorough test run, you might end up with defective products, or even damage the machine. Follow these steps in order, and only start working after it's running smoothly.

Step 1: Before Powering On, Do Three Small Things:
1. Clean the Oil: Wipe the rust-preventive oil off the mold, guide rails, and mandrel. That oil is for rust prevention, not lubrication; if not cleaned properly, it will scratch the bending pipe.
2. Check the Wiring: Are the motor wires connected correctly? Are the anchor bolts tightened? Is the emergency stop button pressed down? A quick glance is all it takes.
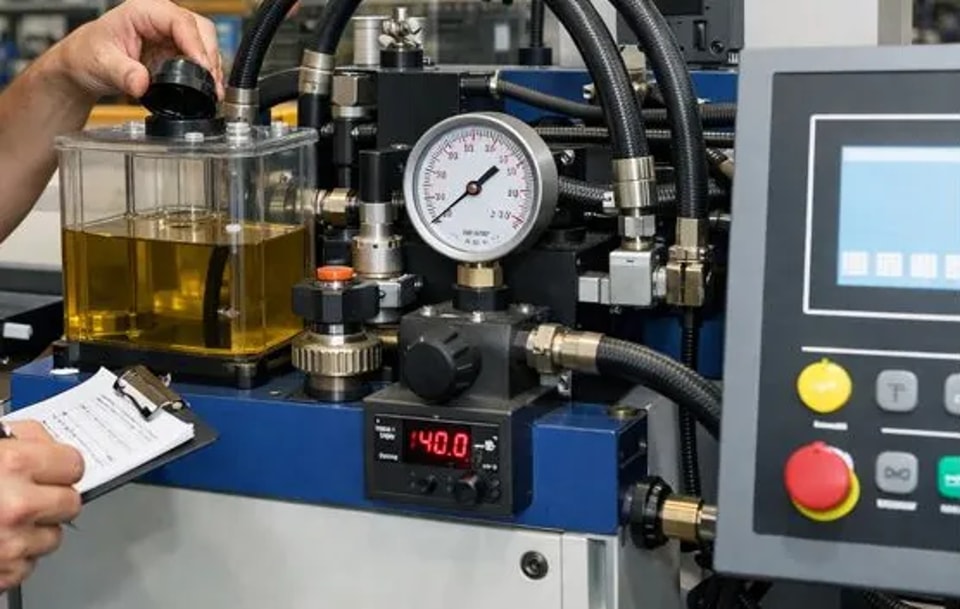
3. Add Oil: Is the hydraulic oil level at the mark? Is there oil in the guide rail lubrication pump? If not, add oil; don't let it grind dry.
Step 2: Jog the Machine to Test the Direction
Jog the oil pump motor to see if the rotation direction matches the arrow on the pump. If it's reversed, the pump won't pump oil, and the bending arm might fall off, which is dangerous.
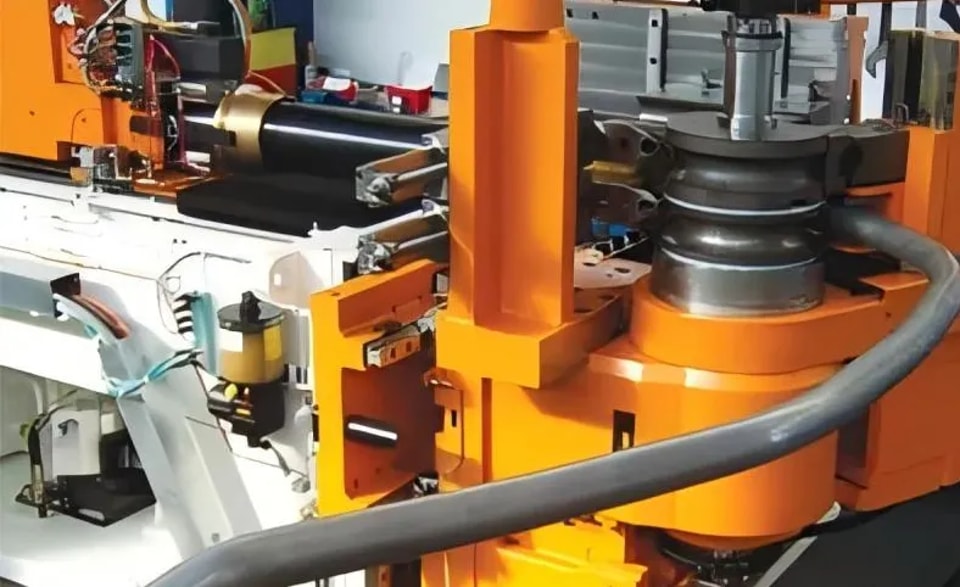
Jog each movement of the bending arm, clamping, mandrel, and feeding mechanism to see if they move smoothly and without any abnormal noises or jamming.
Step 3: Run a no-load cycle to get the hydraulic system running smoothly.
First, let the hydraulic pump idle for 3-5 minutes to purge air from the pipes and allow the oil temperature to rise slightly.
Adjust the bending speed to the slowest setting (e.g., 10%-20% of maximum speed) and run a complete no-load cycle: clamp → mandrel advance → bend tube → mandrel retraction → release → return to original position.
Observe whether the sequence of actions is correct and whether the limit switch signals are in place. Check the screen for any changes in the position numbers of each axis.

Step 4: Test bend with a scrap tube, adjusting parameters from low to high.
Don't use a good tube right away. Take a scrap or cheap tube of the same specifications.
Slowly increase the clamping pressure from low to high until the tube no longer slips. Don't tighten it all the way at once, as this will flatten the tube.
Also, start with a slow bend and gradually increase it to find a speed that provides stable quality.
After bending, check the angle, ovality, and surface for scratches or wrinkles. If there are any problems, adjust the position of the mandrel and the gap of the anti-wrinkle mold.
Step 5: Verify repeatability by bending 10 waste tubes consecutively using the adjusted parameters (or bend any scrap tube ends).
Measure the angle and length, noting the difference between each tube. Angle fluctuation within ±0.5° is acceptable, and feed length within ±0.3mm.
If the fluctuation is large, check for clamping slippage and whether the encoder coupling is loose.
Step 6: Record parameters for future adjustments.
Record the successful parameters (clamping pressure, bending speed, mandrel position, over-bending compensation value) next to the equipment or in the system. Next time you use tubes of the same specification, simply use these parameters to avoid further testing.
Several critical mistakes to avoid:
**Trial bending the pipe arm without installing the mold:** Without a bending mold, the bending arm may overshoot during idling, damaging the limit switch.
**Putting your hand into the mold area during trial bending:** Even at low speeds, the machine may jerk at any time. Use a long spool or automatic mode, and keep your distance.
**Ignoring unusual noises:** If you hear a "clunk" or "creak" during trial running, stop immediately. Investigate the cause before proceeding; don't force it.
Trial runs are like the break-in period for a new car; treat it gently, and it won't break down later. Spend half an hour getting the process right, and you'll avoid a lot of trouble in the following months.
Contact Us