- tel:+86-13222111178
- email:info@ntjugao.com


Comprehensive Guide to Changing V-Openings on Multi-V Dies
Comprehensive Guide to Changing V-Openings on Multi-V Dies

Pre-Change Preparation Checklist
Before beginning the V-opening change process, complete these essential preparations:
1. Review Work Order Requirements
l Verify material type and thickness
l Confirm required bend angles and radii
l Identify optimal V-opening size (typically 6-12× material thickness)
2. Gather Necessary Tools
l Correct wrench sizes for die clamps
l Lifting equipment (for dies over 15kg)
l Alignment pins or gauges
l Calibration tools
3. Workspace Setup
l Clear adequate working space around press brake
l Ensure proper lighting
l Prepare scrap material for test bends
Detailed Step-by-Step Procedure
1. Machine Safety Lockout
l Engage main power disconnect switch
l Install physical lockout devices with personal safety locks
l Verify zero energy state by attempting to cycle machine
l Place "DO NOT OPERATE" tags at all control points
*Safety Note: According to OSHA 1910.147, all servicing and maintenance activities require proper lockout/tagout implementation.*
2. Die Clamp Adjustment
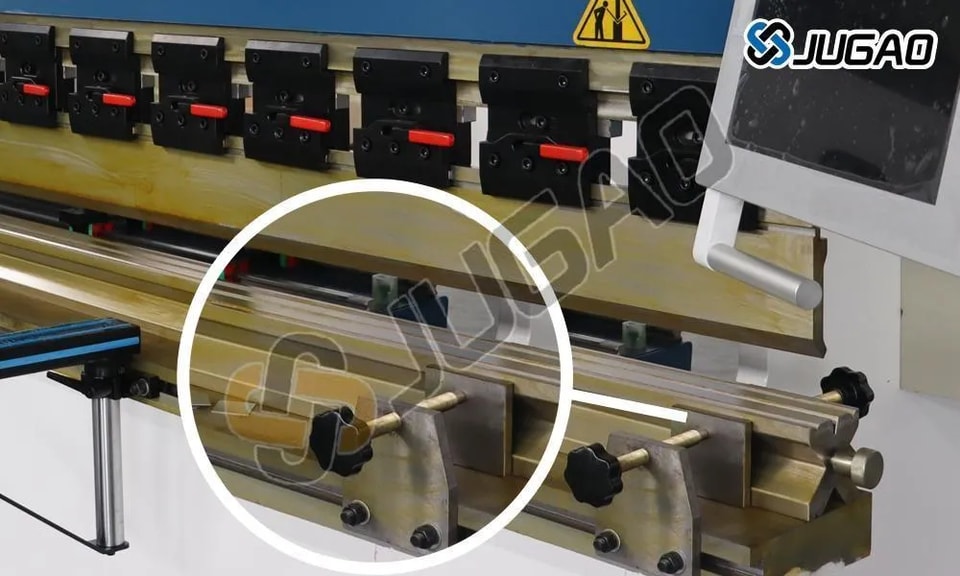
l Identify clamp type (mechanical, hydraulic, or pneumatic)
l For mechanical clamps:
![]() Use calibrated torque wrench for consistent tension
Use calibrated torque wrench for consistent tension
![]() Loosen in star pattern to prevent uneven stress
Loosen in star pattern to prevent uneven stress
l For hydraulic/pneumatic systems:
![]() Release pressure slowly using bleed valve
Release pressure slowly using bleed valve
![]() Monitor pressure gauges during release
Monitor pressure gauges during release
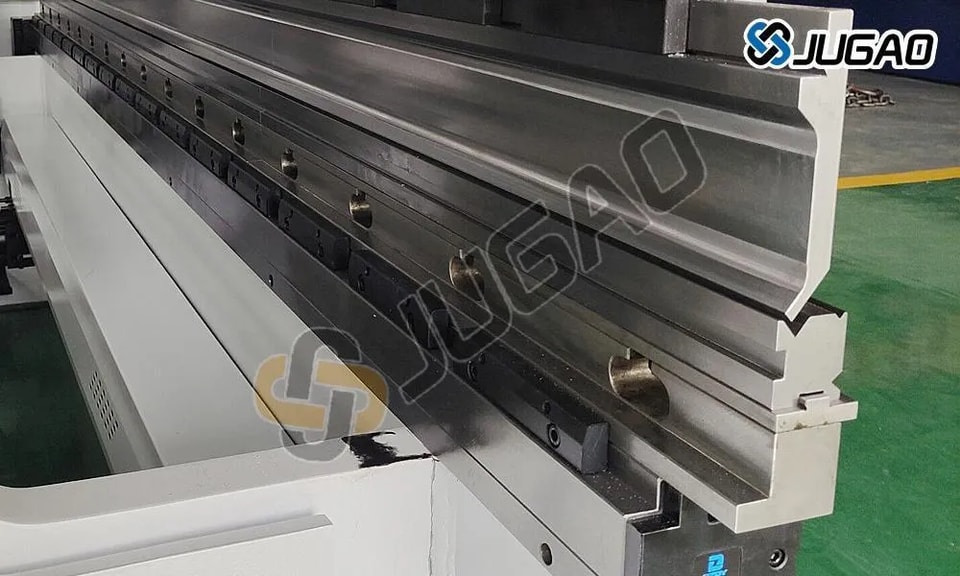
3. Die Rotation Process
1) Lifting Technique
l Use balanced lifting points on die
l For manual handling:
![]() Maintain straight back posture
Maintain straight back posture
![]() Lift with legs, not back
Lift with legs, not back
![]() Use team lift for dies over 25kg
Use team lift for dies over 25kg
2) Rotation Guidance
l Clean die grooves before rotation
l Align rotation marks with reference indicators
l For indexed dies, listen for positive "click" engagement

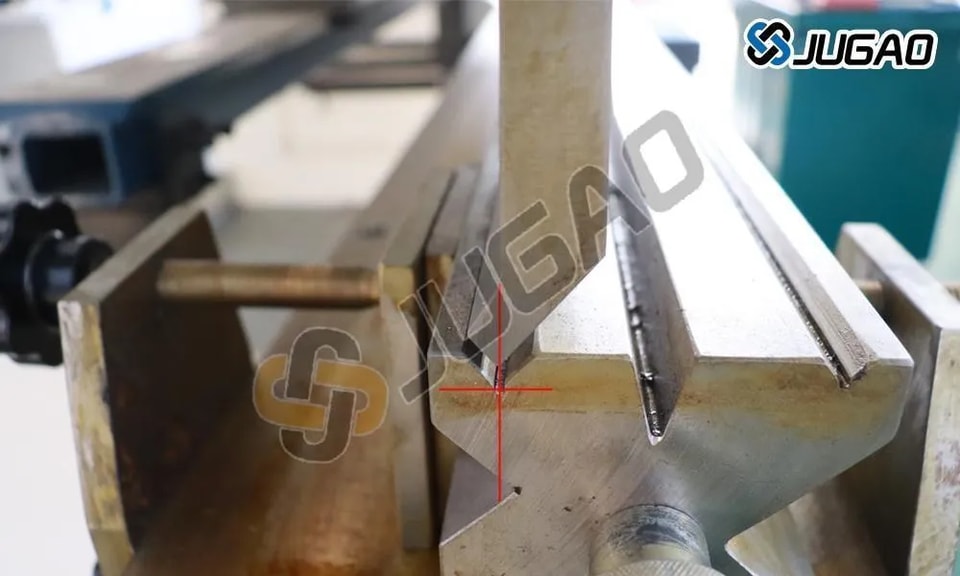
4. Precision Alignment Verification
l Use dial indicators to check:
![]() Vertical alignment (±0.05mm tolerance)
Vertical alignment (±0.05mm tolerance)
![]() Horizontal parallelism (±0.1mm/m)
Horizontal parallelism (±0.1mm/m)
![]() Die-to-punch centering
Die-to-punch centering
l Advanced techniques:
![]() Laser alignment for critical applications
Laser alignment for critical applications
![]() Profile projectors for complex tooling
Profile projectors for complex tooling
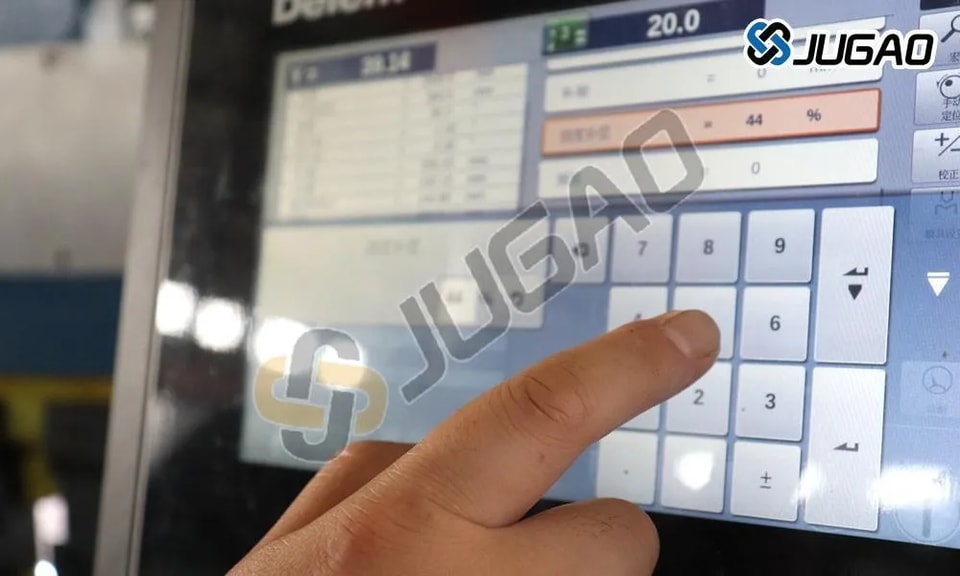
5. Control System Configuration
1) CNC Parameter Updates
l Input exact V-opening dimension
l Update material database with:
![]() Elastic modulus
Elastic modulus
![]() K-factor
K-factor
![]() Springback coefficients
Springback coefficients
2) Backgauge Calibration
l Perform touch-off procedure
l Verify repeatability (±0.02mm)
l Compensate for tooling offsets
6. Validation and Testing
l Three-Stage Test Protocol:
① Dry run without material
② Test bend on sacrificial material
③ Production sample verification
l Inspection Criteria:
![]() Bend angle accuracy (±0.5°)
Bend angle accuracy (±0.5°)
![]() Surface finish quality
Surface finish quality
![]() Dimensional consistency
Dimensional consistency
Troubleshooting Common Issues
Symptom | Possible Cause | Corrective Action |
Uneven bends | Misaligned die | Recheck alignment with precision level |
Excessive tonnage | Wrong V-opening | Verify material thickness vs. V-width |
Marked material | Dirty die grooves | Clean and polish contact surfaces |
Inconsistent angles | Loose clamps | Retorque to manufacturer specs |
Post-Change Maintenance
1. Tooling Care
l Apply anti-corrosion coating
l Inspect for edge wear
l Document usage hours
2. Machine Checks
l Verify hydraulic pressure
l Test safety interlocks
l Clean work area
3. Process Documentation
l Record setup parameters
l Note any adjustments made
l Document test results
Advanced Pro Tips
1. For High-Volume Production:
l Implement quick-change die systems
l Use RFID-tagged tooling for automatic parameter recall
2. Precision Applications:
l Temperature-stabilize tooling
l Consider micro-ground dies for critical finishes
3. Safety Enhancement:
l Install proximity sensors for die position verification
l Implement dual-verification systems for critical setups
This enhanced procedure ensures optimal results while maintaining the highest safety standards. Always refer to your specific machine's operation manual for manufacturer-recommended practices.
Contact Us